
If you’re a cat owner, you know how important it is for your feline friend to have a space of their own. A cat tree provides the perfect solution, offering a dedicated area for climbing, scratching, and lounging. While you can easily purchase a cat tree from a pet store, building your DIY cat tree can be a fun and rewarding project. In this comprehensive guide, we’ll walk you through the process of creating a custom cat tree that suits your cat’s needs and your home’s aesthetic.

Benefits of a DIY Cat Tree
Before we dive into the step-by-step instructions, let’s explore the benefits of building your cat tree.
1. Cost-effective
Building your cat tree can be a budget-friendly alternative to purchasing one from a store. By using readily available materials and repurposing items you already have, you can save money while still providing your cat with a high-quality and functional tree.
2. Customization
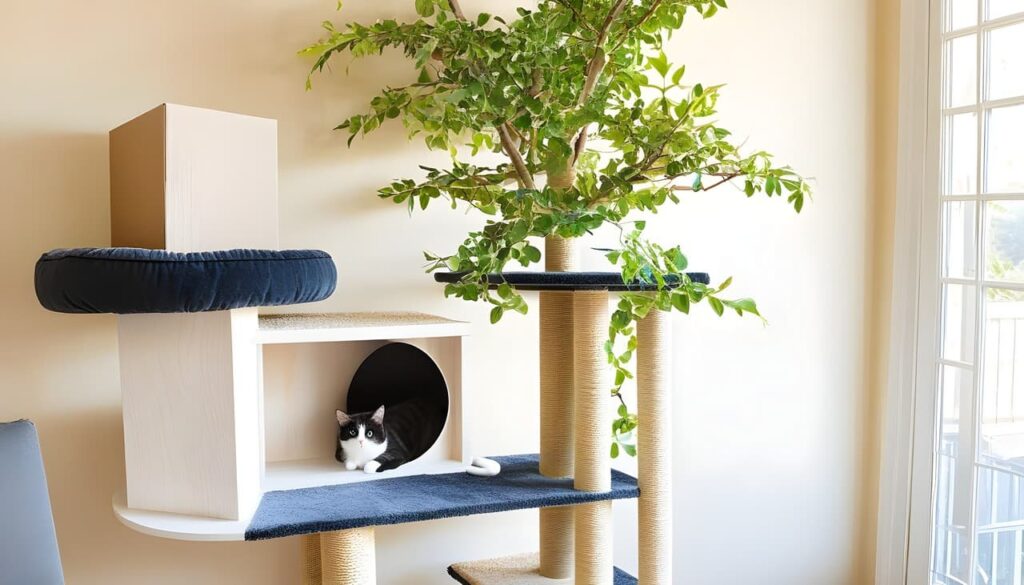
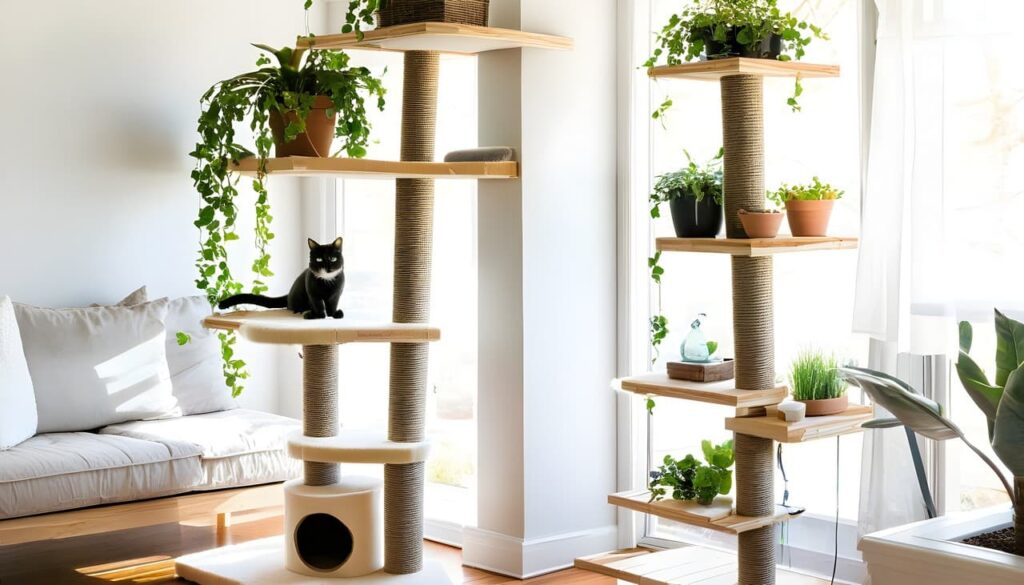
When you build a DIY cat tree, you have complete control over the design and functionality. You can tailor it to suit your cat’s preferences, incorporating features like scratching posts, hammocks, hiding spots, and perches. Additionally, you can match the color scheme and style of your home, ensuring that the cat tree seamlessly blends in with your decor.
3. Bonding opportunity
Building a cat tree can be a fun and engaging activity for both you and your cat. It provides an opportunity to bond with your furry friend while also stimulating their instincts. Your cat will appreciate the time and effort you put into creating a special space just for them.
Materials and Tools You’ll Need
Before you start building your DIY cat tree, gather the necessary materials and tools. Here’s a list of items you’ll need:
Materials:
- Wood (such as plywood, dimensional lumber, or branches)
- Carpet or sisal rope
- PVC pipe (optional)
- Faux greenery (optional)
- Fabric (for hammocks and cushions)
- Screws or nails
- Wood glue
- Sandpaper
- Paint or stain (optional)
Tools:
- Measuring tape
- Saw (hand saw, circular saw, or jigsaw)
- Drill
- Screwdriver
- Staple gun
- Hot glue gun
- Paintbrush (if painting or staining)
- Scissors
Step-by-Step Instructions to Build Your DIY Cat Tree
Now that you have all the necessary materials and tools, let’s dive into the step-by-step instructions for building your DIY cat tree.
Step 1: Design and Planning
Before you start cutting and assembling, it’s essential to have a clear plan for your cat tree. Consider the available space in your home, your cat’s preferences, and the features you want to incorporate. Sketch out a design and make a list of the specific components you’ll need.
Step 2: Prepare the Base
Start by building the base of your cat tree. Cut the wood into the desired size and shape, ensuring it is sturdy enough to support the entire structure. You can use dimensional lumber or plywood for this step. Attach the pieces together using screws or nails, creating a solid foundation for your cat tree.
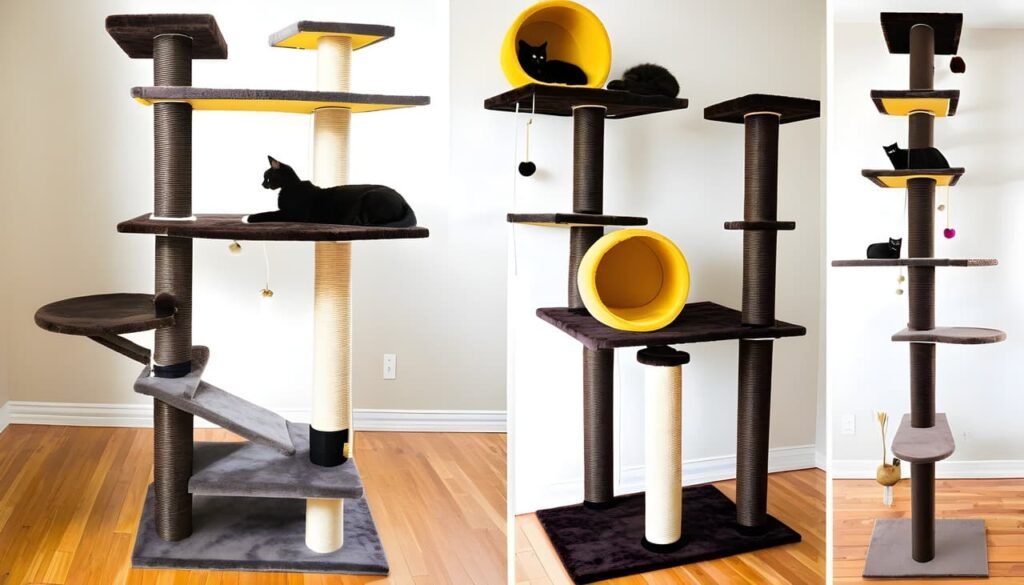
Step 3: Build the Vertical Supports
Next, assemble the vertical supports or posts for your cat tree. You can use 4x4s, PVC pipes, or even real tree branches for a natural look. Cut the materials to your desired height, considering your cat’s agility level and the available space. Attach the posts securely to the base using screws or nails, ensuring stability.
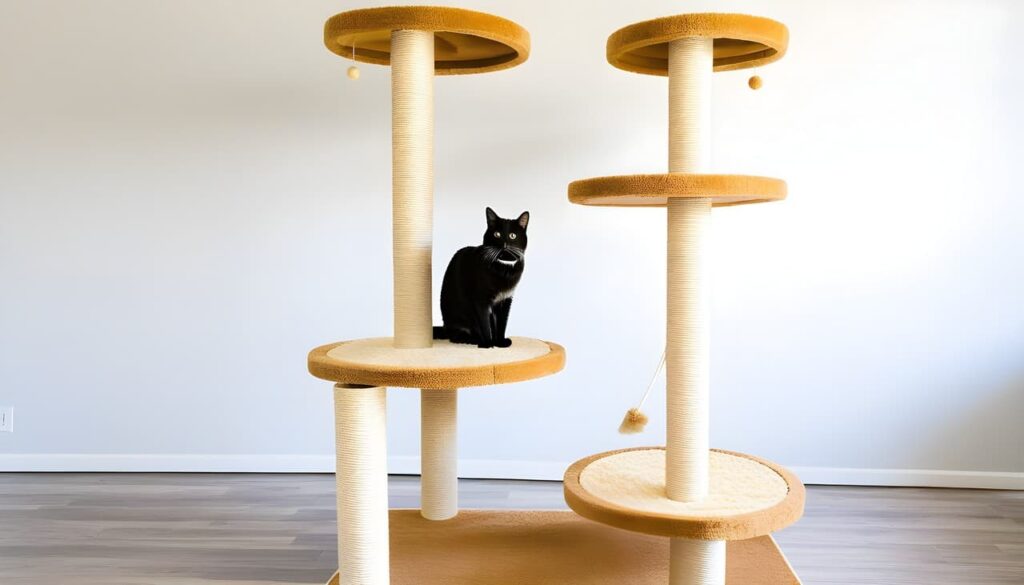
Step 4: Add Platforms and Perches
Once the vertical supports are in place, it’s time to add platforms and perches for your cat to climb and rest on. Cut pieces of wood or plywood to the desired size and shape, ensuring they fit securely on the supports. Attach the platforms with screws or nails, making sure they can withstand your cat’s weight.
Step 5: Incorporate Scratching Surfaces
To satisfy your cat’s natural scratching instincts, incorporate scratching surfaces into your DIY cat tree. Cover some of the vertical supports with sisal rope, carpet, or other materials that cats love to scratch. Secure the covering with staples or glue, ensuring it’s firmly attached.
Step 6: Create Hammocks and Hideouts
Hammocks and hideouts are excellent additions to a cat tree, providing cozy spaces for your cat to relax and nap. Use fabric or carpet to create hammocks and cushions for your cat to lounge on. Attach them securely to the platforms or vertical supports, ensuring they can withstand your cat’s weight.
Step 7: Personalize and Decorate
Now that the structure of your cat tree is complete, it’s time to personalize and decorate it. Paint or stain the wood to match your home’s decor, or leave it natural for a rustic look. Add faux greenery or other decorative elements to enhance the aesthetic appeal of the cat tree.
Step 8: Test and Adjust
Once your DIY cat tree is assembled and decorated, it’s important to test its stability and safety. Give it a gentle shake to ensure it doesn’t wobble or tip over. Make any necessary adjustments, such as reinforcing connections or adding additional support, to ensure the cat tree is secure.
Step 9: Introduce Your Cat
Finally, introduce your cat to their new DIY cat tree. Encourage them to explore and climb on the various platforms, use the scratching surfaces, and relax in the hammocks. Reward them with treats or praise to create a positive association with their new space.
Maintenance and Care
To keep your cat tree in good condition and ensure its longevity, regular maintenance is necessary. Here are some tips for maintaining and caring for your DIY cat tree:
- Vacuum or brush the carpeted areas regularly to remove cat hair and debris.
- Inspect the structure periodically, checking for any loose screws or nails. Tighten or replace as needed.
- If the scratching surfaces become worn or damaged, replace them with new sisal rope or carpet covering.
- Clean any fabric components, such as hammocks or cushions, according to the manufacturer’s instructions.
- Consider applying catnip spray to attract your cat to the tree and encourage play and exploration.
By following these maintenance tips, your DIY cat tree will provide your cat with years of enjoyment.
Conclusion
Building your DIY cat tree is a rewarding project that allows you to create a customized and functional space for your feline friend. With the right materials, tools, and step-by-step instructions, you can construct a cat tree that suits your cat’s needs and your home’s aesthetic. By incorporating features like scratching surfaces, hammocks, and hideouts, you’ll provide your cat with a stimulating and comfortable space to climb, play, and relax. Follow the maintenance tips to ensure the longevity of your DIY cat tree, and enjoy the satisfaction of knowing you created a special space for your beloved pet.