
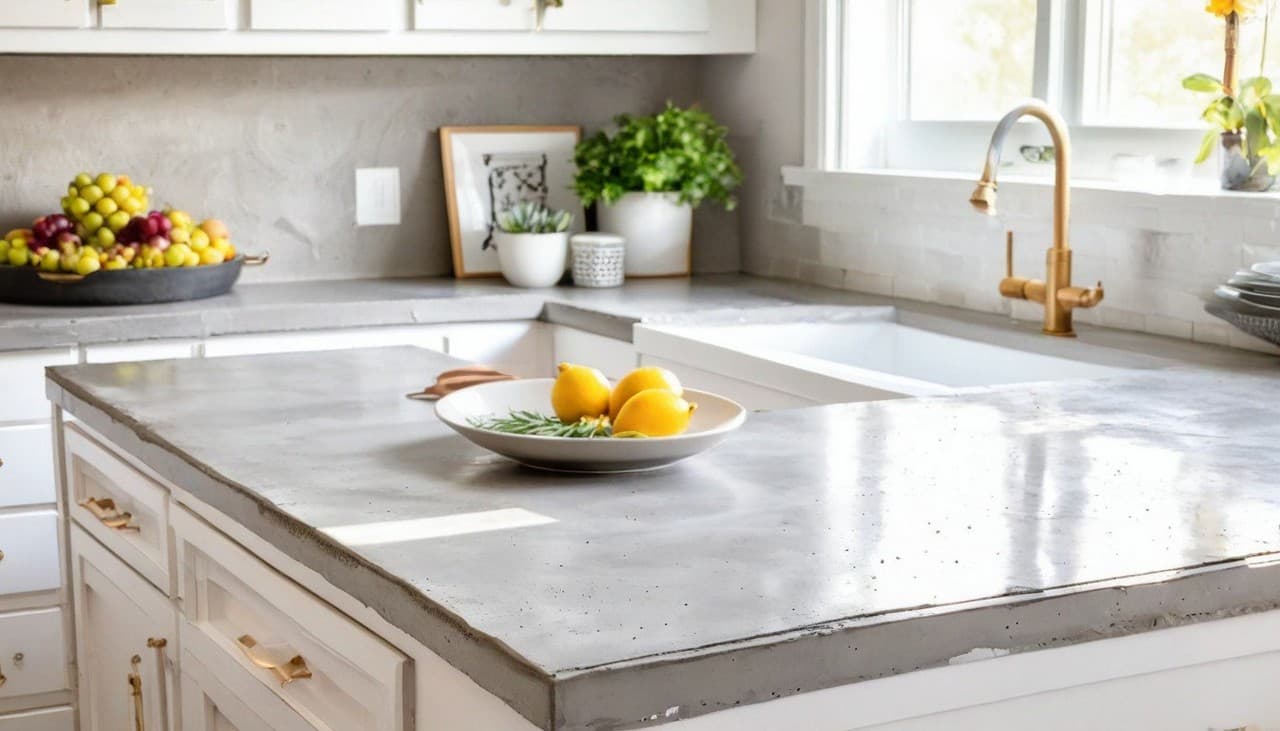
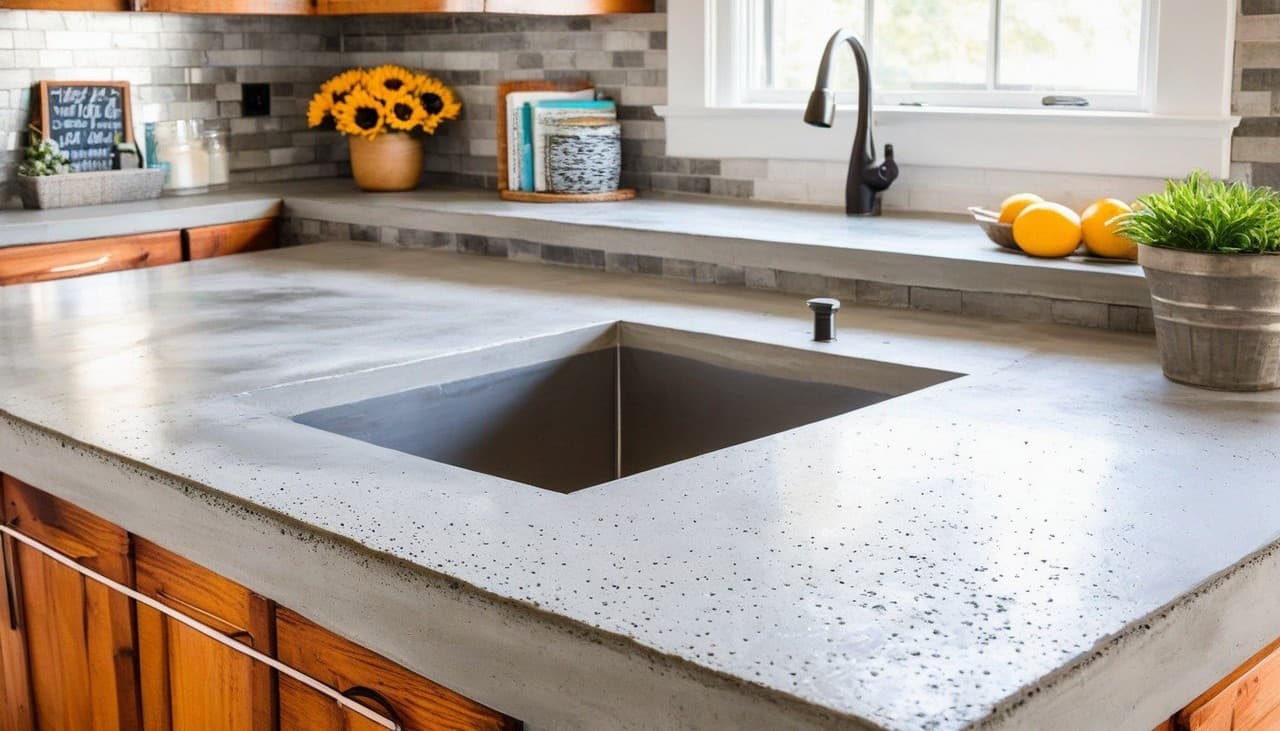
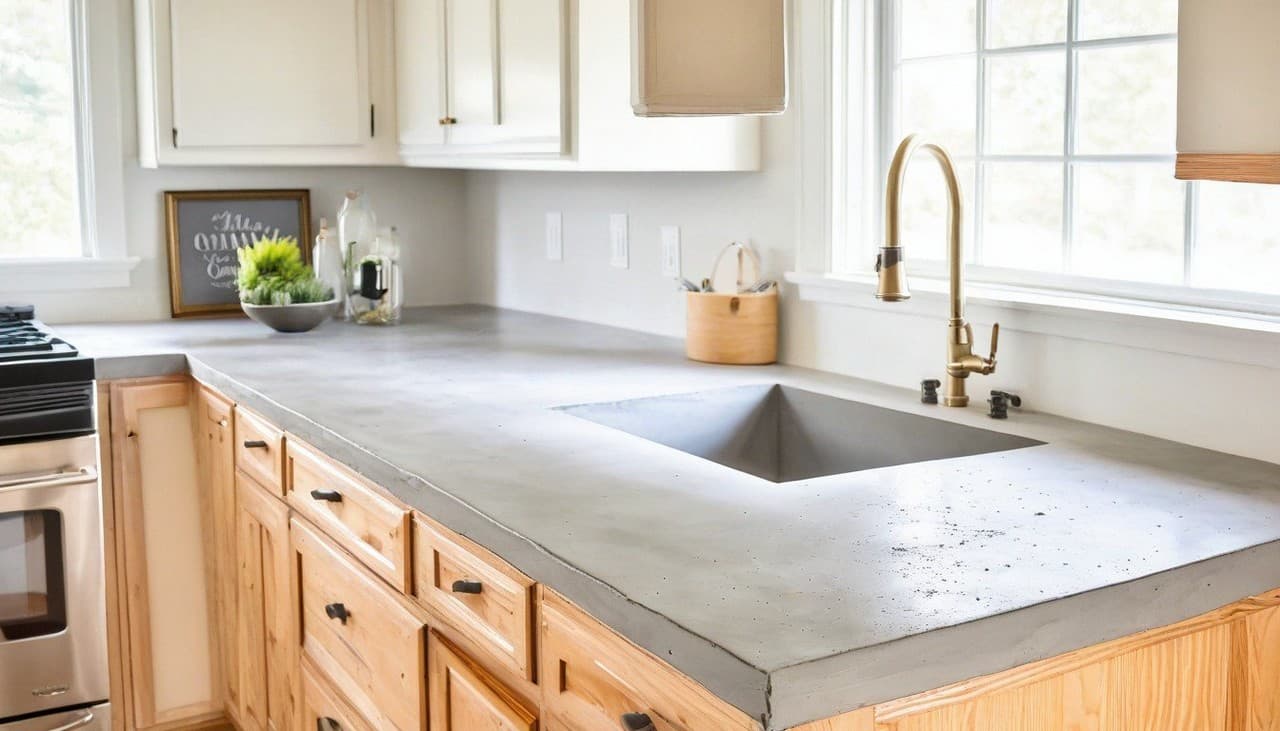
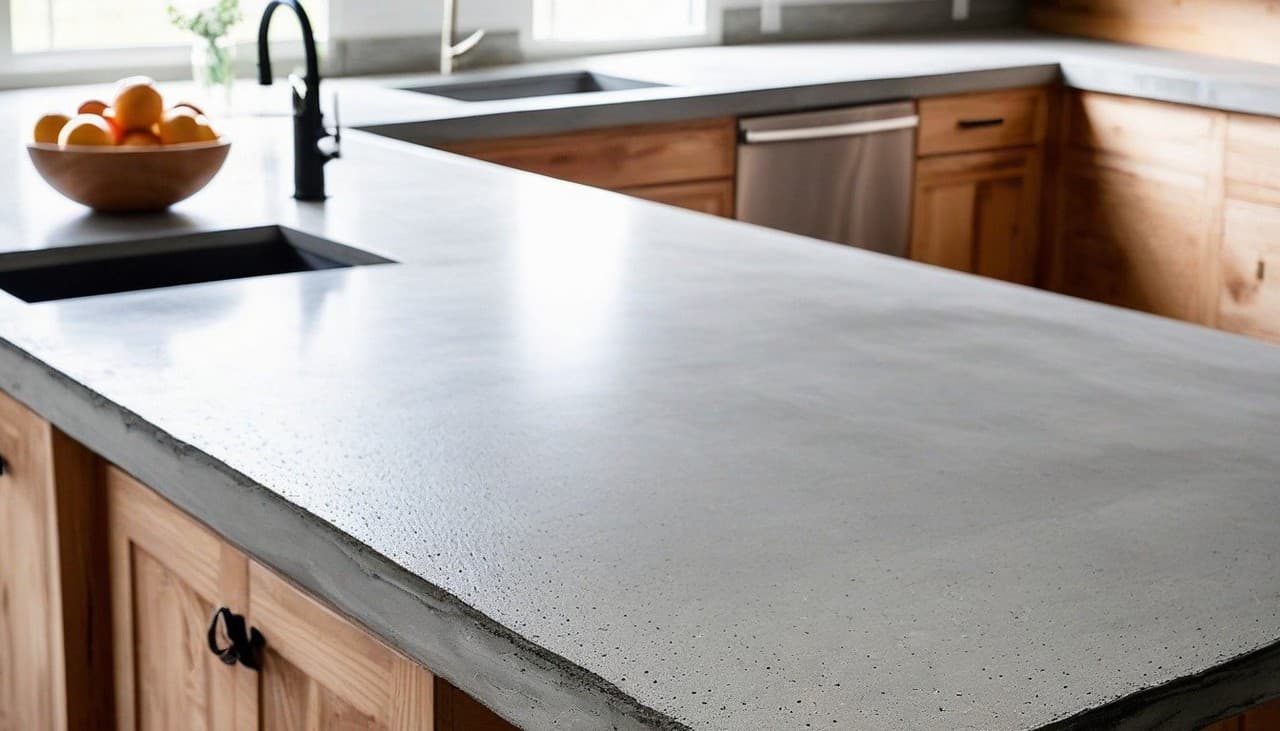
Concrete countertops have become increasingly popular in modern kitchen design, and for good reason. They offer a unique and contemporary look that can transform your kitchen into a stylish and sophisticated space. While it may seem like a daunting task, creating your DIY concrete countertops is not as difficult as it may seem. In fact, with the right tools and materials, along with a little patience and attention to detail, you can achieve stunning results that rival professional installations. In this ultimate guide, we will walk you through the step-by-step process of creating your DIY concrete countertops, providing you with all the necessary information and tips to ensure a successful and beautiful kitchen upgrade.

Understanding the basics of concrete countertops
Before diving into the process of creating DIY concrete countertops, it is important to understand the basics of this material. Concrete countertops are made by combining cement, sand, and aggregate with water to create a durable and versatile surface. The mixture is then poured into a mold and left to cure, resulting in a solid and sturdy countertop. One of the main advantages of concrete countertops is their ability to be customized to fit any kitchen style or design preference. They can be made in any shape or size, and can even incorporate unique features such as embedded objects or decorative elements. By understanding the properties and possibilities of concrete, you can unleash your creativity and create a truly one-of-a-kind countertop for your kitchen.
Tools and materials needed for DIY concrete countertops
To embark on your DIY concrete countertop project, you will need a variety of tools and materials. Here is a list of the essentials:
Concrete mix: Choose a high-quality concrete mix that is specifically formulated for countertops. This will ensure that your countertops are strong and durable.
Reinforcement: Depending on the size and shape of your countertops, you may need to reinforce them with steel or fiberglass mesh. This will prevent cracking and increase their longevity.
Mold: The mold is what gives your countertops their shape. It can be made from a variety of materials such as melamine, wood, or even foam. Ensure that the mold is sturdy and properly sealed to prevent any leaks.
Mixing tools: You will need a drill with a mixing paddle or a concrete mixer to properly mix the concrete. Additionally, have a trowel and a float on hand for smoothing and finishing the surface.
Sealer: After the countertops have cured, they will need to be sealed to protect them from stains and water damage. Choose a sealer that is specifically designed for concrete countertops.
Safety equipment: Working with concrete can be messy and potentially hazardous, so be sure to wear protective gear such as gloves, safety glasses, and a dust mask.
By having all the necessary tools and materials ready, you can ensure a smooth and efficient DIY concrete countertop project.
Step-by-step instructions for preparing the countertop mold
Creating a well-built and properly sealed mold is crucial for the success of your DIY concrete countertops. Follow these step-by-step instructions to prepare the countertop mold:
Measure and plan: Start by measuring the dimensions of your countertops and determine how thick you want them to be. Use these measurements to calculate the amount of concrete mix you will need.
Prepare the mold materials: Cut the melamine or wood board to the desired size and shape of your countertops. Ensure that the edges are properly sealed with silicone caulk to prevent any leaks. If using foam for the mold, shape it according to your design and cover it with plastic wrap to create a smooth surface.
Attach the mold: Place the mold on a flat and level surface, such as a workbench or sawhorse. Secure it in place using clamps or screws, ensuring that it is sturdy and will not move during the pouring process.
Add reinforcement: If your countertops are large or have an overhang, it is important to add reinforcement to prevent cracking. Place steel or fiberglass mesh in the mold, ensuring that it is positioned in the middle of the concrete.
Apply mold release: To easily remove the countertop from the mold once it has cured, apply a mold release agent or cooking spray to the inside of the mold. This will create a barrier between the concrete and the mold, allowing for easy removal.
With the mold properly prepared, you are now ready to move on to the next step in creating your DIY concrete countertops.
Mixing and pouring the concrete for your countertops
Now that your mold is ready, it’s time to mix and pour the concrete for your countertops. Follow these step-by-step instructions for a successful concrete pour:
Prepare the concrete mix: Read the instructions on the concrete mix packaging and measure the appropriate amount of mix for your countertops. Follow the recommended water-to-concrete ratio and mix thoroughly until the concrete is the consistency of thick pancake batter.
Pour the concrete: Slowly pour the concrete into the mold, starting from one corner and working your way across. Use a trowel to evenly distribute the concrete and eliminate any air pockets. If using a large amount of concrete, have a helper assist you in the pouring process.
Level the concrete: Once the mold is filled with concrete, use a screed board or a straight edge to level the surface. Move the board back and forth in a sawing motion to remove any excess concrete and create a smooth and even surface.
Tap and vibrate: To remove any trapped air bubbles and ensure a dense and solid countertop, tap the sides of the mold with a rubber mallet and vibrate the mold using a concrete vibrator. This will help the concrete settle and eliminate voids.
Finish the surface: Use a float to smooth the surface of the concrete, applying light pressure in circular motions. This will create a polished and professional finish. If desired, you can also add decorative elements or embed objects into the surface at this stage.
With the concrete poured and the surface finished, your countertops are now ready for the curing process.
Essential tips for achieving a smooth and professional finish
Achieving a smooth and professional finish on your DIY concrete countertops requires attention to detail and some helpful tips. Here are a few essential tips to ensure a stunning result:
Cover and protect: After pouring the concrete, cover the mold with plastic sheeting or a tarp to create a moist environment. This will slow down the drying process and allow the concrete to cure evenly.
Monitor the curing process: Check the concrete regularly during the curing process to ensure that it is drying evenly. If you notice any cracks or uneven drying, lightly mist the surface with water to prevent further issues.
Remove the mold: Once the concrete has cured for the recommended time, carefully remove the mold. Start by removing any screws or clamps, and then gently pry the mold away from the concrete. If using melamine or wood, you may need to use a chisel or putty knife to separate the two.
Sand and polish: After removing the mold, use a series of progressively finer grit sandpaper to smooth out any imperfections on the surface of the countertop. Start with a coarse grit and work your way up to a fine grit for a polished finish.
Seal and protect: Once the countertop is sanded and polished, apply a concrete sealer according to the manufacturer’s instructions. This will protect the surface from stains and water damage, and also enhance the overall appearance of the countertop.
By following these tips, you can achieve a smooth and professional finish on your DIY concrete countertops, resulting in a stunning addition to your kitchen.
Curing and sealing your DIY concrete countertops
After the concrete has been poured and the mold has been removed, it is important to properly cure and seal your DIY concrete countertops. Here’s how to do it:
- Curing process: Place the countertop in a well-ventilated area and cover it with plastic sheeting or a tarp. This will create a moist environment that allows the concrete to cure slowly and evenly. Leave the countertop to cure for the recommended time, typically around 7 to 10 days.
- Remove plastic and clean: After the curing period is complete, remove the plastic sheeting and clean the countertop thoroughly. Use a mild detergent and warm water to remove any dirt or debris. Rinse the countertop thoroughly and allow it to dry completely before moving on to the sealing process.
- Sealing process: Apply a concrete sealer to the countertop according to the manufacturer’s instructions. Use a brush or roller to evenly distribute the sealer, ensuring that all areas are covered. Allow the sealer to dry completely before using the countertop.
By properly curing and sealing your DIY concrete countertops, you can protect them from stains and water damage, and ensure their longevity and durability.
Adding customizations and personal touches to your countertops
One of the great advantages of DIY concrete countertops is the ability to customize and add personal touches to make them truly unique. Here are some ideas to inspire your creativity:
- Color and pigment: Consider adding color or pigment to the concrete mix to create a countertop that matches your kitchen’s color scheme. There are various concrete pigments available that can be mixed into the concrete to achieve a wide range of colors.
- Embedded objects: Add a touch of personality to your countertops by embedding objects into the concrete. This could be anything from seashells or stones to pieces of glass or decorative tiles. Arrange the objects in a pleasing pattern before pouring the concrete.
- Textured finishes: Experiment with different textures by applying stamps or stencils to the surface of the concrete before it dries. This can create a unique pattern or design that adds visual interest to your countertops.
- Edge treatments: Choose a decorative edge treatment for your countertops to give them a polished and finished look. There are various options available, such as bullnose, bevel, or ogee edges, that can be created using specialized tools or forms.
By adding customizations and personal touches to your DIY concrete countertops, you can create a truly unique and stunning focal point in your kitchen.
Maintaining and cleaning your concrete countertops
To keep your DIY concrete countertops looking their best, it is important to properly maintain and clean them. Here are some tips to ensure their longevity:
- Regular cleaning: Clean your countertops regularly with a mild detergent and warm water. Avoid using harsh or abrasive cleaners, as they can damage the sealer and the surface of the concrete. Wipe up spills immediately to prevent staining.
- Avoid heat and sharp objects: Concrete countertops can withstand heat, but prolonged exposure to high temperatures can damage the sealer and the surface. Use trivets or hot pads to protect the countertop from hot pans or dishes. Similarly, avoid cutting directly on the surface to prevent scratching.
- Reapply sealer: Over time, the sealer on your countertops may wear off. To maintain their protection, reapply a concrete sealer every 1 to 2 years, or as recommended by the manufacturer. This will help prevent stains and keep the surface looking fresh and new.
- Address stains promptly: If your countertops do get stained, address the issue promptly to prevent the stain from setting. Use a mild cleaner or a poultice specifically designed for concrete to remove the stain. Follow the manufacturer’s instructions and test the cleaner on a small, inconspicuous area first.
By following these maintenance and cleaning tips, you can ensure that your DIY concrete countertops remain beautiful and functional for years to come.
Pros and cons of DIY concrete countertops
As with any home improvement project, there are pros and cons to consider before embarking on a DIY concrete countertop project. Here are some of the main advantages and disadvantages:
Pros:
- Customization: DIY concrete countertops offer endless possibilities for customization, allowing you to create a unique and personalized design.
- Durability: Concrete countertops are extremely durable and can withstand daily use and abuse.
- Cost-effective: DIY concrete countertops can be a cost-effective option compared to hiring professionals for installation.
- Versatility: Concrete can be molded into any shape or size, allowing for seamless integration with your kitchen design.
Cons:
- Labour-intensive: Creating DIY concrete countertops requires time, effort, and attention to detail.
- Messy process: Working with concrete can be messy and potentially hazardous, requiring proper safety precautions.
- Learning curve: If you are new to working with concrete, there may be a learning curve to overcome before achieving professional results.
- Potential for imperfections: Despite your best efforts, DIY concrete countertops may still have imperfections such as air bubbles or minor surface irregularities.
By weighing the pros and cons, you can make an informed decision about whether DIY concrete countertops are the right choice for your kitchen upgrade.
Conclusion: Transform your kitchen with stunning DIY concrete countertops
In conclusion, DIY concrete countertops are a fantastic way to upgrade your kitchen and create a stunning focal point. By following the step-by-step instructions provided in this ultimate guide, along with the essential tips and advice, you can successfully create your own beautiful and durable concrete countertops. From understanding the basics of concrete to preparing the mold, mixing and pouring the concrete, and adding personal touches, this guide has covered all the necessary information to help you achieve professional results. While the process may be labor-intensive and require some patience, the result will be well worth the effort. So, why not embark on your DIY concrete countertop project and transform your kitchen into a stylish and sophisticated space that you can be proud of for years to come?