
When it comes to home organization and storage solutions, DIY floating shelves are a popular choice. These versatile shelves not only provide a practical storage solution but also add a touch of style to any room. Whether you are looking to display your favorite books, showcase decorative items, or create additional storage space, building your own DIY floating shelf is a rewarding and cost-effective project.

Benefits of DIY floating shelves
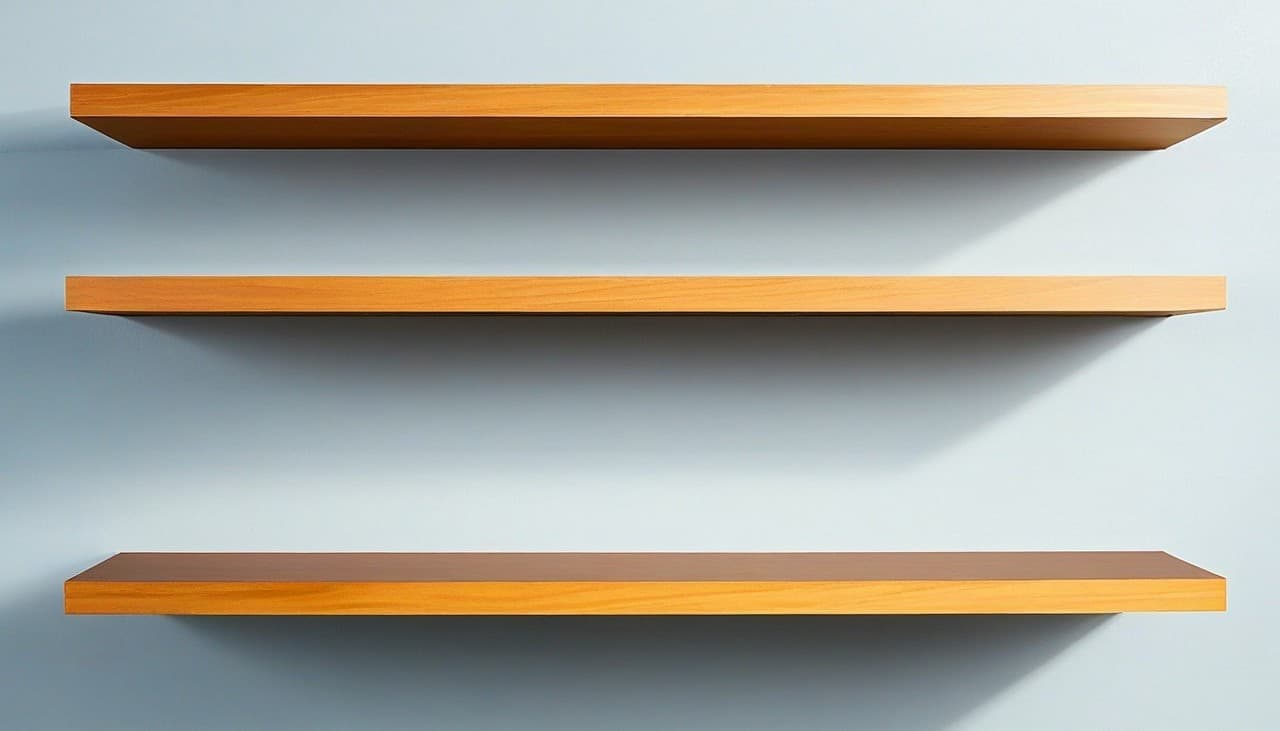
There are several benefits to choosing DIY floating shelves over traditional shelving options. Firstly, these shelves create an illusion of floating, thanks to the concealed mounting brackets. This gives them a sleek and modern look that can complement any interior style. Additionally, DIY floating shelves are customizable, allowing you to choose the size, shape, and finish that best suits your needs and preferences.
Another advantage of DIY floating shelves is their versatility. They can be installed in any room, from the living room to the kitchen, bathroom, or even the garage. Whether you want to display family photos, store kitchen essentials, or organize your tools, these shelves can be tailored to suit your specific requirements.
Tools and materials needed for building a DIY floating shelf
Before embarking on your DIY floating shelf project, make sure you have all the necessary tools and materials. Here’s a list of items you’ll need:
- Measuring tape
- Pencil
- Level
- Power drill
- Screwdriver
- Saw
- Sandpaper
- Wood glue
- Floating shelf brackets
- Wood screws
- Wood boards or planks
Having these tools and materials ready will ensure a smooth and efficient building process.
Measuring and planning your DIY floating shelf
The first step in building your DIY floating shelf is to measure and plan accordingly. Start by determining the desired length, width, and depth of your shelf. Consider the available space where you intend to install the shelf and take accurate measurements.
Next, mark the wall where you want to mount the shelf using a pencil. Use a level to ensure the markings are straight and even. This step is crucial for achieving a professional-looking finished product.
Choosing the right wood for your DIY floating shelf
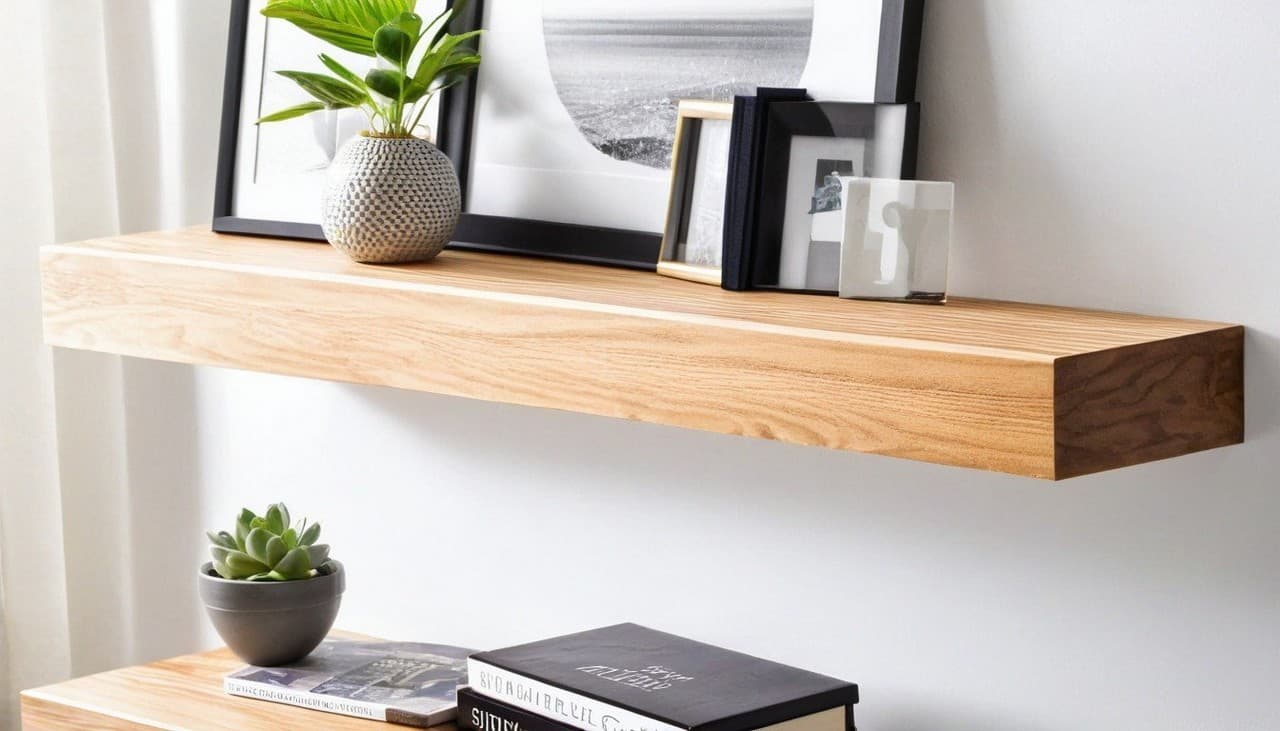
Choosing the right wood for your DIY floating shelf is essential for both its durability and aesthetic appeal. Opt for high-quality hardwood such as oak, maple, or walnut, as they are sturdy and visually appealing. Consider the weight of the items you plan to place on the shelf and choose a wood thickness that can support the load.
Additionally, decide whether you want a natural wood finish or if you prefer to stain or paint the shelf. Keep in mind that staining or painting the wood will require additional steps and materials.
Cutting and sanding the wood for your DIY floating shelf
Once you have chosen the right wood, it’s time to cut it to the desired dimensions. Use a saw to make precise cuts according to your measurements. Take your time and ensure the cuts are straight and smooth.
After cutting the wood, sand the edges and surfaces using sandpaper. This step is crucial for achieving a polished and professional finish. Start with coarse-grit sandpaper to remove any roughness, and then move on to finer-grit sandpaper for a smooth surface.
Assembling the DIY floating shelf brackets

The floating shelf brackets are what give your shelf its unique floating appearance. Follow the manufacturer’s instructions to assemble the brackets. Typically, this involves attaching the mounting plate to the wall and securing the bracket to the shelf.
Ensure that the brackets are properly aligned and securely attached to both the wall and the shelf. This will provide the necessary support for your DIY floating shelf.
Installing your DIY floating shelf
With the brackets assembled and the wood prepared, it’s time to install your DIY floating shelf. Place the shelf onto the brackets, making sure it is level and centered. Use a power drill and wood screws to secure the shelf to the brackets from the underside. This will further reinforce the stability of your floating shelf.
Double-check the levelness of the shelf and make any necessary adjustments before tightening the screws completely. Once everything is securely in place, step back and admire your newly installed DIY floating shelf.
Styling and decorating your DIY floating shelf
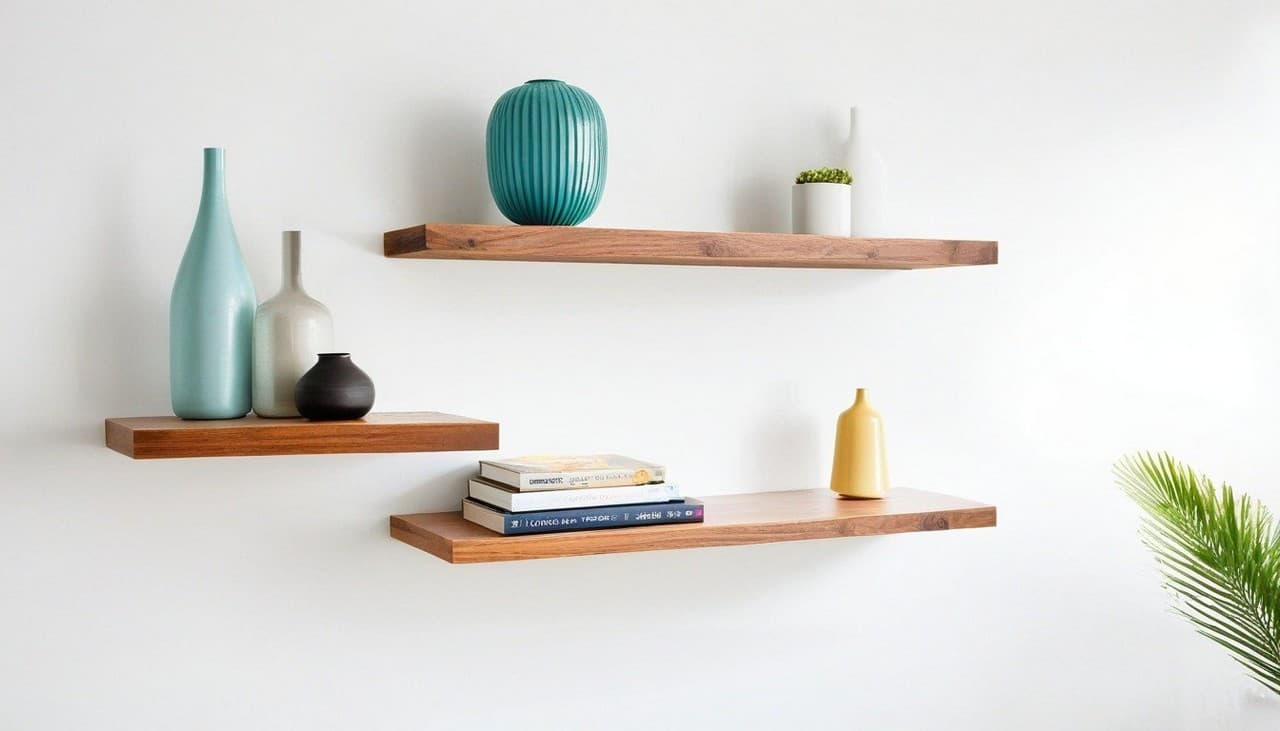
Now that your DIY floating shelf is installed, it’s time to add the finishing touches. Styling and decorating your shelf will not only enhance its appearance but also make it a functional and personalized storage solution.
Consider using a mix of decorative items, such as potted plants, framed photos, or small sculptures, to add visual interest to the shelf. You can also incorporate practical storage solutions, like baskets or boxes, to keep small items organized and out of sight.
Maintenance tips for your DIY floating shelf
To ensure the longevity of your DIY floating shelf, it’s important to perform regular maintenance. Dust the shelf regularly using a soft cloth or feather duster to prevent the buildup of dirt and debris. If your shelf has a painted or stained finish, avoid using harsh cleaning products that may damage the surface.
Inspect the brackets and screws periodically to check for any loosening or signs of wear. Tighten any loose screws and replace any damaged brackets to maintain the structural integrity of your floating shelf.
Conclusion: Enjoy your new DIY floating shelf
Building your own DIY floating shelf is a rewarding and practical project that can enhance the organization and aesthetics of any space. By following this step-by-step guide, you can create a stylish and functional storage solution tailored to your needs.
Remember to take accurate measurements, choose the right wood, and assemble the brackets properly. With proper installation and regular maintenance, your DIY floating shelf will serve you well for years to come. Enjoy the satisfaction of completing a DIY project and the convenience of having a stylish storage solution in your home.
Now, it’s time to put your skills to the test and start building your very own DIY floating shelf. Happy crafting!