
Gardening is a rewarding hobby that allows you to grow your fresh produce and beautify your outdoor space. One popular method of gardening is using raised garden beds. Raised garden beds offer numerous benefits such as improved soil drainage, better weed control, and easier access for planting and harvesting. In this step-by-step guide, I will walk you through the process of building your DIY raised garden bed, making it simple and enjoyable.

Benefits of using raised garden beds
Before we dive into the details of building a raised garden bed, let’s explore the benefits that come with this gardening method. Raised garden beds provide excellent drainage, reducing the risk of waterlogged soil which can lead to root rot. Additionally, the elevated design of a raised garden bed helps to keep out unwanted pests and prevents soil compaction, allowing plant roots to grow more freely.
Another advantage of raised garden beds is the ability to control the quality of your soil. By using a customized blend of soil and compost, you can create the ideal growing environment for your plants. This is especially beneficial if you have poor or contaminated soil in your yard. Furthermore, raised garden beds offer better accessibility, making it easier for people with physical limitations to garden comfortably.
Planning your DIY raised garden bed
Before you start building your raised garden bed, it’s important to have a clear plan in mind. Begin by considering the size and shape of your garden bed. Measure the available space in your yard and determine how much area you want to allocate for your garden. Keep in mind that the width of your raised bed should be no more than four feet, allowing you to comfortably reach the center without stepping on the soil.
Next, think about the height of your raised garden bed. A height of 12 to 18 inches is recommended to ensure proper root development and prevent soil erosion. If you plan to grow deep-rooted vegetables or plants, you may want to consider a deeper bed. Additionally, consider the materials you will use for the construction of your garden bed. Common options include wood, cinder blocks, or even recycled materials like old tires or wine barrels.
Choosing the right location for your raised garden bed
The location of your raised garden bed is crucial for the success of your plants. Ideally, choose a spot that receives at least six hours of sunlight per day. Most vegetables and herbs thrive in full sun, although some shade-tolerant plants can handle less direct sunlight. Additionally, consider the accessibility of water in your chosen location. It should be within reach of a water source, either through a hose or a nearby rain barrel.
Avoid placing your raised garden bed under large trees or near structures that may cast shadows throughout the day. Tree roots can compete with your plants for nutrients, and structures can obstruct sunlight. Furthermore, ensure that the area is relatively level to prevent water from pooling in one corner of the bed. A slight slope can be accommodated, but excessive inclines may cause uneven watering and drainage.
Materials and tools needed for building a raised garden bed
Now that you have a plan and a location, it’s time to gather the materials and tools necessary for building your raised garden bed. The materials you choose will depend on your personal preferences and budget. Wood is a popular choice due to its affordability, availability, and ease of use. Cedar and redwood are particularly recommended as they are naturally resistant to rot and insect damage.
To construct a basic raised garden bed, you will need the following materials:
- 4×4 or 2×6 lumber boards (length and quantity determined by your desired bed size)
- Galvanized screws or nails
- Weed fabric or cardboard to line the bottom of the bed
- Soil and compost mixture for filling the bed
In terms of tools, you will require:
- A saw (circular or hand saw)
- A drill with appropriate drill bits
- A level
- Measuring tape
- Work gloves
Ensure that you have all the necessary materials and tools before starting the construction process to avoid any unnecessary delays.
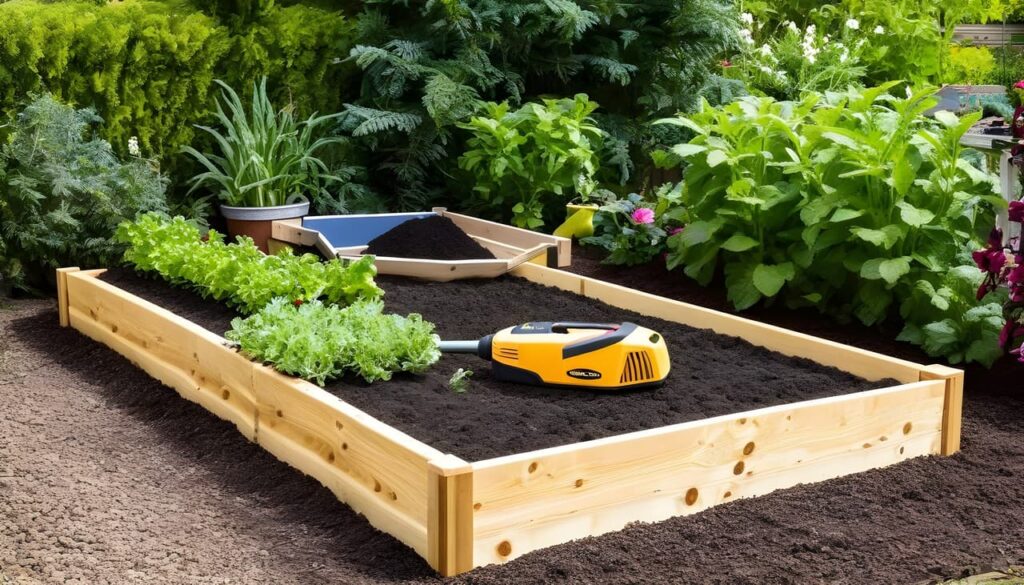
A step-by-step guide to building a raised garden bed
Now that you have all your materials and tools ready, let’s dive into the step-by-step process of building your own raised garden bed.
- Measure and mark the dimensions of your garden bed on the ground usng stakes and string. This will serve as a guide during the construction process.
- Using a saw, cut the lumber boards to the desired lengths according to your marked dimensions.
- Assemble the boards into a rectangular shape, with the shorter boards overlapping the longer ones at the corners.
- Secure the boards together at the corners using galvanized screws or nails, ensuring the bed is sturdy and level.
- Line the bottom of the bed with weed fabric or cardboard to prevent weeds from growing up into the bed.
- Fill the bed with soil and compost, leaving a few inches of space at the top for watering and mulching.
Congratulations! You have now successfully built your own raised garden bed. It’s time to move on to the next steps of preparing the soil and planting your desired crops.
Preparing the soil for your raised garden bed
The quality of your soil is vital for the health and productivity of your plants. Before planting, it’s essential to prepare the soil in your raised garden bed. Begin by removing any grass or weeds from the area inside the bed. You can do this by hand or use a garden fork or tiller to loosen the soil.
Next, amend the soil with compost to improve its nutrient content and structure. Spread a layer of compost over the soil surface and use a garden fork or shovel to mix it thoroughly. Aim for a ratio of one part compost to three parts existing soil. This will provide a rich growing medium for your plants.
Once the soil is prepared, water it thoroughly to ensure it is evenly moist. Allow the bed to settle for a day or two before proceeding to the next step of planting.
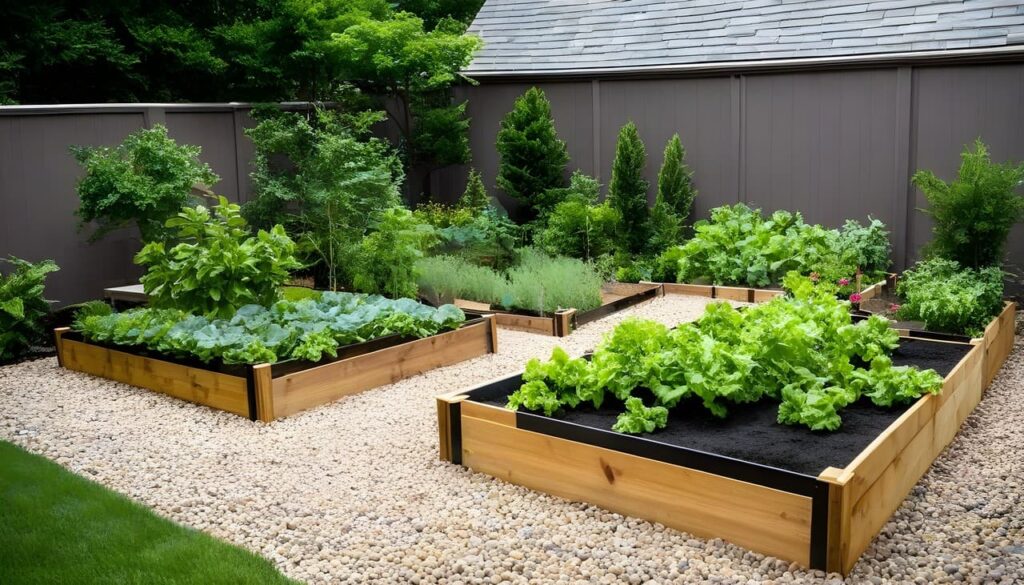
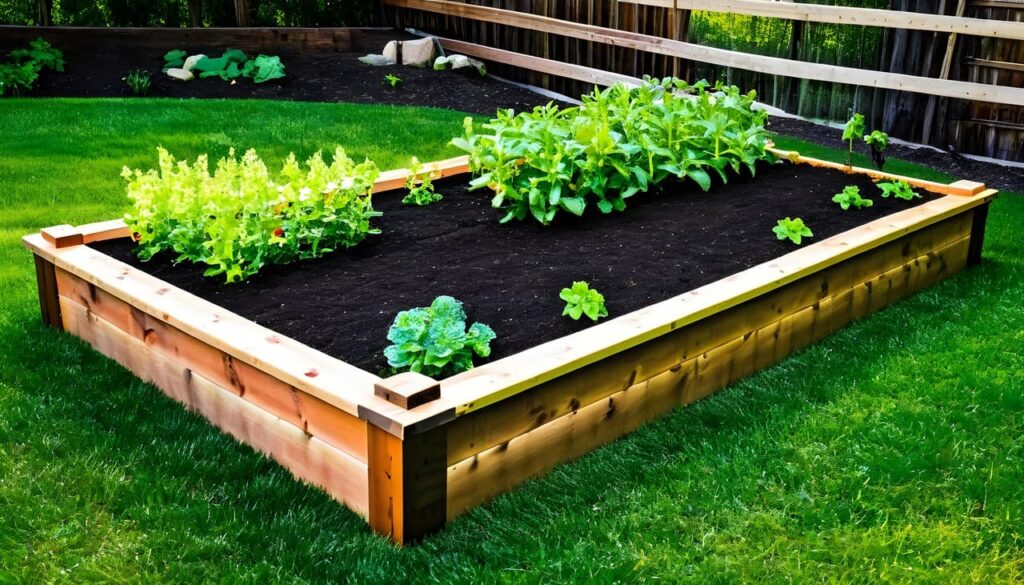
Planting and caring for your raised garden bed
Now that your soil is ready, it’s time to start planting in your raised garden bed. Begin by selecting the crops you want to grow. Consider the specific requirements of each plant, such as sun exposure, spacing, and watering needs. This will help you plan the layout of your garden bed effectively.
Follow the recommended planting depth and spacing for each crop and make small holes in the soil to accommodate the seedlings or seeds. Gently place the plants in the holes and cover their roots with soil, firming it lightly around the base of each plant. Water the newly planted crops thoroughly, ensuring the soil is evenly moist.
As your plants grow, it’s important to provide them with regular care. This includes watering, fertilizing, and monitoring for pests and diseases. Water your raised garden bed deeply and consistently, ensuring the soil remains evenly moist. Use organic fertilizers or compost tea to provide essential nutrients to your plants. Regularly inspect your plants for signs of pests or diseases and take appropriate measures to control them, such as using organic pest control methods or removing infected plants.
Tips for maintaining your raised garden bed
To ensure the long-term success of your raised garden bed, here are some tips for its maintenance:
- Mulch your garden bed to help retain moisture, suppress weed growth, and regulate soil temperature.
- Regularly check for weeds and remove them promptly to prevent competition for nutrients and water.
- Rotate your crops each year to prevent the buildup of pests and diseases in the soil.
- Monitor the moisture level of the soil and adjust your watering accordingly. Avoid overwatering, as it can lead to root rot.
- Harvest your crops regularly to encourage continuous production and prevent overcrowding.
By following these maintenance tips, you will be able to enjoy a thriving and productive raised garden bed year after year.
Conclusion and final thoughts
Building your DIY raised garden bed is a rewarding and enjoyable experience. Not only does it provide you with a convenient and accessible way to grow your food, but it also offers numerous benefits for your plants. From improved drainage to better soil quality, a raised garden bed can significantly enhance your gardening success.
By following the step-by-step guide outlined in this article, you now have the knowledge and tools to build and maintain your own raised garden bed confidently. Remember to plan your garden bed, choose the right location, gather the necessary materials and tools, and prepare the soil before planting. With proper care and maintenance, your raised garden bed will provide you with a bountiful harvest and a beautiful outdoor space to enjoy.
So why wait? Start planning and building your DIY raised garden bed today and experience the joys of gardening like never before!
CTA: Start your gardening journey today by building your DIY raised garden bed and enjoy the benefits of homegrown produce and beautiful outdoor space. Happy gardening!