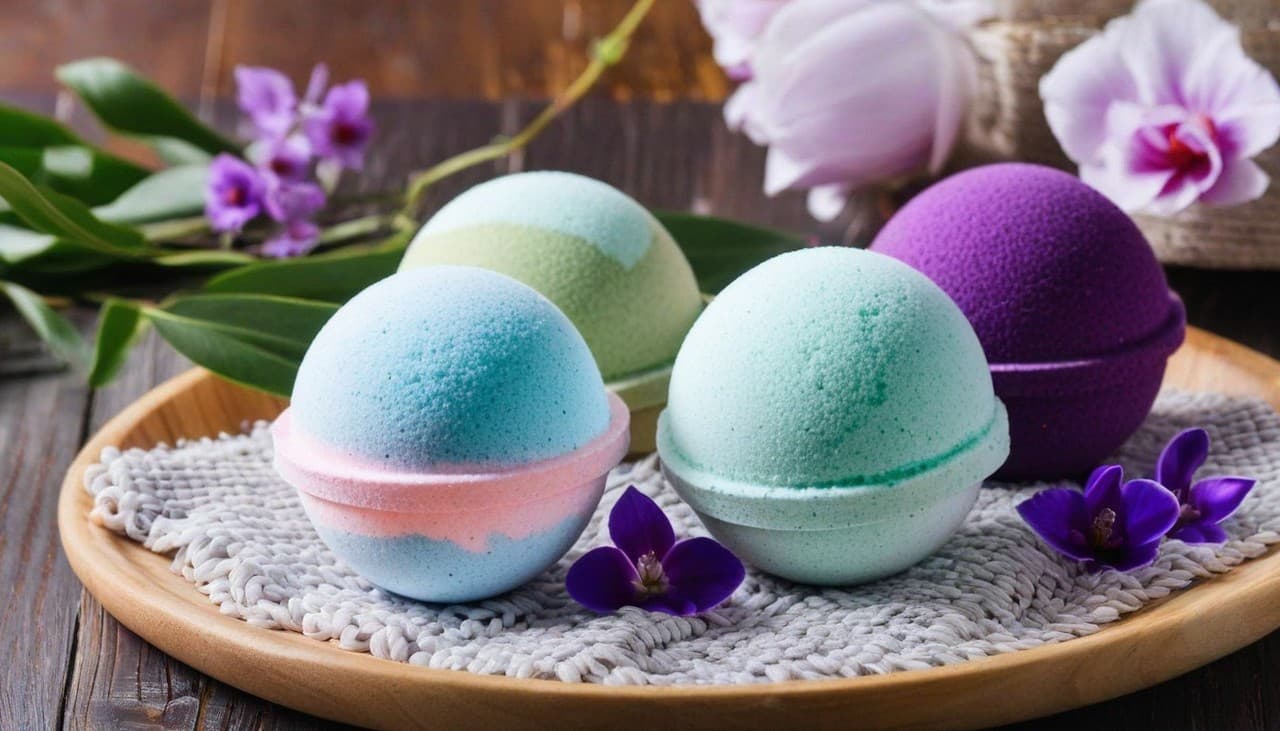
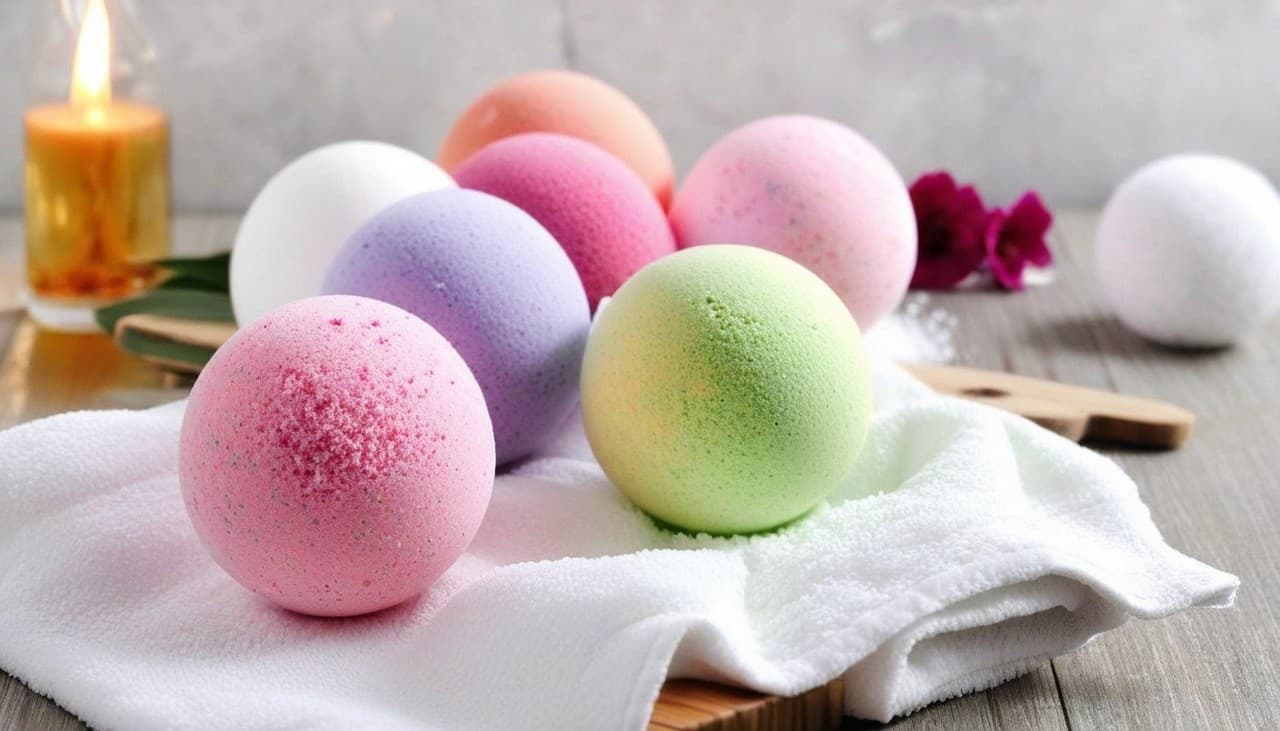
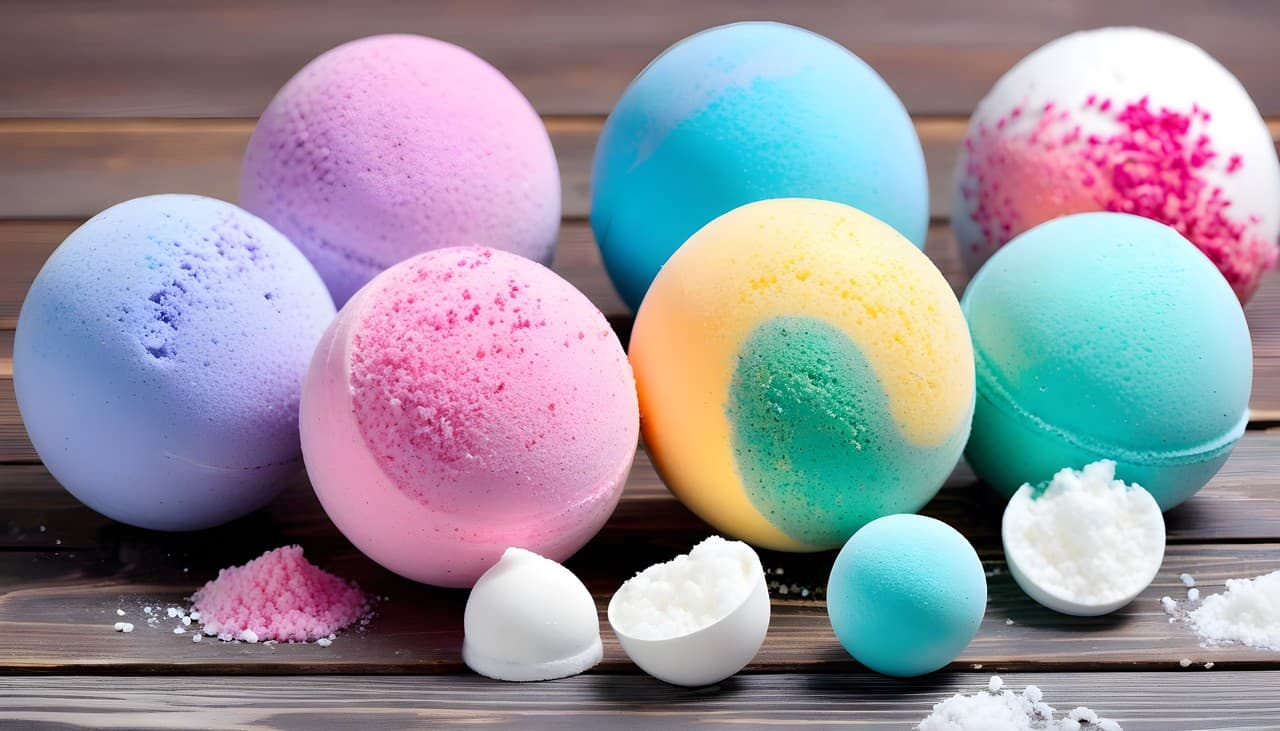
Bath time can be a luxurious experience, but why settle for ordinary when you can create your spa-like oasis right in the comfort of your own home? With DIY bath bombs, you can transform your bathing ritual into a blissful and rejuvenating experience. In this guide, we will explore the benefits of using bath bombs, understand the ingredients that go into them, and provide you with a step-by-step guide on how to make your personalized bath bombs.

The benefits of using bath bombs
Bath bombs are more than just colourful fizzing spheres. They offer a range of benefits that can enhance your bathing experience. Firstly, bath bombs are infused with essential oils, such as lavender or eucalyptus, which can help to relax your mind and promote a sense of calm. These oils have been used for centuries in aromatherapy to soothe the body and mind.
Secondly, bath bombs often contain ingredients like Epsom salt, which can help to relieve muscle tension and promote relaxation. The warm water combined with the soothing salts can create a spa-like experience that leaves your muscles feeling rejuvenated and your skin feeling soft and nourished.
Understanding the ingredients used in bath bombs
Before you start making your bath bombs, it’s important to understand the key ingredients that go into them. The main components of a bath bomb are baking soda, citric acid, and cornstarch. Baking soda acts as a base and helps to create a fizzing reaction when it comes into contact with water. Citric acid is responsible for the acidity in the bath bomb, which also contributes to the fizzing effect. Cornstarch is added to bind the ingredients together and give the bath bomb its shape.
In addition to these core ingredients, bath bombs often contain essential oils for fragrance and therapeutic benefits. You can choose from a wide range of essential oils, each with its unique scent and properties. For example, lavender oil is known for its calming effects, while peppermint oil can provide a refreshing and invigorating experience.
Step-by-step guide on how to make your bath bombs
Now that you have a good understanding of the ingredients used in bath bombs, let’s dive into the process of making your own. Follow these simple steps to create your personalized bath bombs:
- Gather your ingredients: You will need baking soda, citric acid, cornstarch, essential oils of your choice, water, and any additional ingredients you want to include, such as dried flower petals or glitter.
- Mix the dry ingredients: In a large bowl, combine 1 cup of baking soda, 1/2 cup of citric acid, and 1/2 cup of cornstarch. Mix well to ensure all the ingredients are evenly distributed.
- Add the essential oils: Add a few drops of your chosen essential oils to the dry mixture. Start with a small amount and gradually add more until you achieve your desired fragrance strength. Mix well to distribute the oils throughout the mixture.
- Gradually add water: Slowly pour water into the mixture, a little at a time, while stirring continuously. The mixture should hold together when squeezed, but not be too wet. Be careful not to add too much water, as this can cause the bath bombs to expand and lose their shape.
- Shape and dry: Once the mixture is the right consistency, press it into moulds or shape it by hand into your desired bath bomb shapes. Allow the bath bombs to dry for at least 24 hours before using or gifting.
Different variations and scents for personalized bath bombs

The beauty of making your bath bombs is that you can customize them to suit your preferences. There are endless possibilities when it comes to creating different variations and scents. Here are a few ideas to get you started:
- Soothing lavender: Add a few drops of lavender essential oil and dried lavender petals to create a calming and aromatic bath bomb.
- Citrus burst: Mix in some lemon and orange essential oils for a refreshing and invigorating bathing experience.
- Floral infusion: Experiment with different floral essential oils, such as rose or jasmine, to create a romantic and luxurious bath bomb.
- Herb garden bliss: Incorporate herbs like rosemary or mint into your bath bombs for a revitalizing and herbaceous scent.
Remember, the possibilities are endless, so don’t be afraid to get creative and mix different scents and ingredients to create your unique bath bombs.
Tips for storing and preserving bath bombs
To ensure your bath bombs stay fresh and fizzy for longer, it’s important to store them properly. Here are some tips for storing and preserving your homemade bath bombs:
- Keep them dry: Moisture can cause bath bombs to lose their fizziness. Store them in an airtight container or wrap them tightly in plastic wrap to keep them dry.
- Store in a cool, dry place: Excessive heat and humidity can also affect the quality of your bath bombs. Keep them in a cool, dry place away from direct sunlight.
- Use them within a few months: While bath bombs can last for several months, it’s best to use them within the first few months to ensure they are at their freshest and most effective.
Enhancing your bath experience with additional ingredients
If you want to take your bath experience to the next level, consider adding some additional ingredients to your bath. Here are a few ideas:
- Bath oils: Add a few drops of your favourite bath oil to the water for extra moisturization and fragrance.
- Bath salts: Enhance the relaxation and muscle-soothing benefits by adding bath salts to your bath. Epsom salts are particularly beneficial for relieving muscle tension.
- Flower petals: Create a romantic and luxurious atmosphere by scattering flower petals on the surface of your bath.
- Essential oil diffuser: Use an essential oil diffuser in your bathroom to fill the air with your chosen scents and create a spa-like ambience.
Bath bomb gift ideas for friends and loved ones

DIY bath bombs make wonderful gifts for friends and loved ones. Here are a few ideas to inspire you:
- Gift sets: Create a personalized bath bomb gift set by packaging a selection of your homemade bath bombs in a decorative box or basket.
- Customized scents: Tailor the scents of the bath bombs to the preferences of the recipient. Consider their favorite fragrances or scents that promote relaxation or rejuvenation.
- Bath bomb cupcakes: Make bath bomb cupcakes by shaping the mixture into cupcake moulds and decorating them with frosting-like swirls using soap frosting or melt and pour soap.
- Bath bomb ornaments: Create bath bomb ornaments by shaping the mixture into small balls, inserting a string or ribbon before drying, and hanging them on a Christmas tree or giving them as festive favours.
Safety precautions when using bath bombs
While bath bombs are generally safe to use, it’s important to take some precautions to ensure a pleasant and safe bathing experience:
- Patch test: If you have sensitive skin or allergies, it’s recommended to do a patch test on a small area of your skin before using a bath bomb to ensure you don’t have any adverse reactions.
- Avoid using on broken or irritated skin: If you have any cuts, scratches, or skin irritations, it’s best to avoid using bath bombs until the skin has healed.
- Clean the tub afterwards: Some bath bombs contain colourants or glitter that may leave a residue in your bathtub. Be sure to clean the tub thoroughly after each use to prevent any staining or buildup.
Conclusion: Indulge in a relaxing and rejuvenating bath with your DIY bath bombs
Creating your DIY bath bombs is a rewarding and creative way to elevate your bathing experience. By understanding the ingredients and following a simple step-by-step guide, you can make personalized bath bombs that cater to your unique preferences. Whether you want to create a calming lavender-infused bath or a refreshing citrus burst, the possibilities are endless. So, why not treat yourself to a spa-like experience in the comfort of your own home? Start experimenting with different scents and ingredients, and you’ll soon be indulging in a blissful and rejuvenating bath with your very own DIY bath bombs.
CTA: Start your DIY bath bomb journey today and transform your bath time into a luxurious and blissful experience. Gather your ingredients, follow our step-by-step guide, and create personalized bath bombs that will leave you feeling relaxed and rejuvenated. Don’t wait any longer, indulge in the ultimate self-care ritual with DIY bath bombs.
