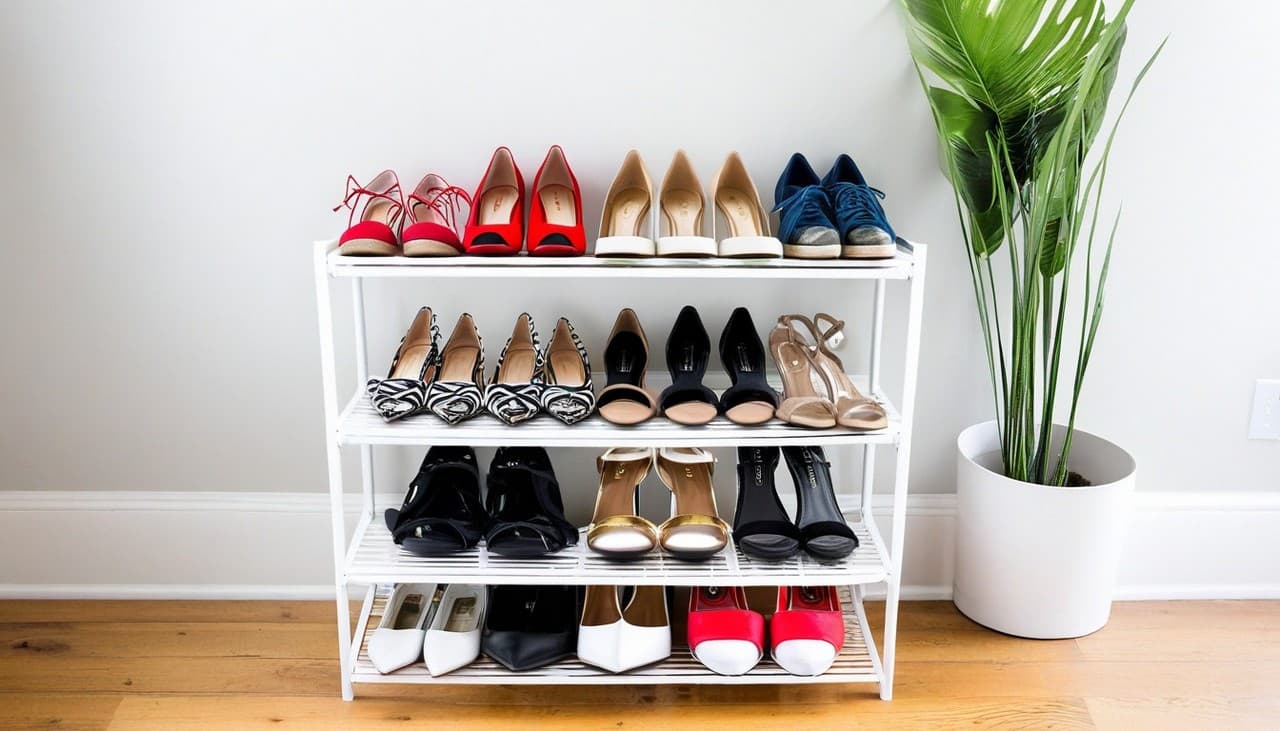
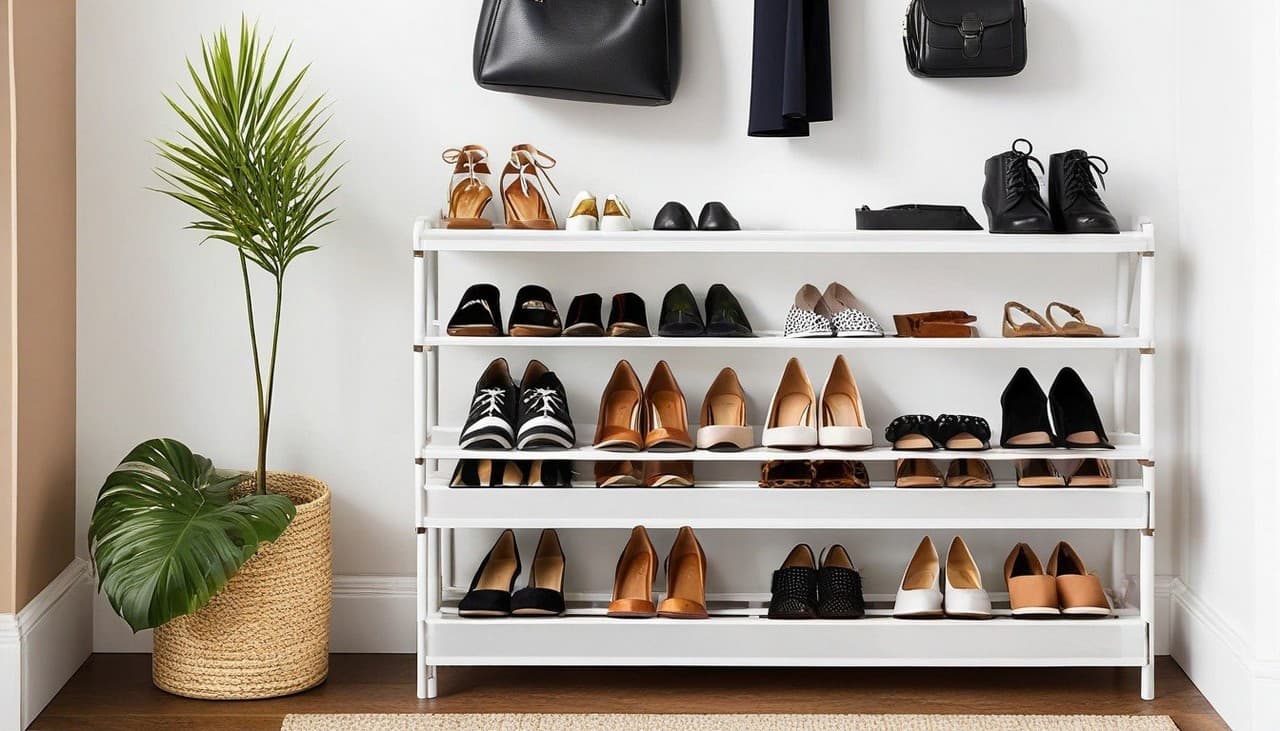
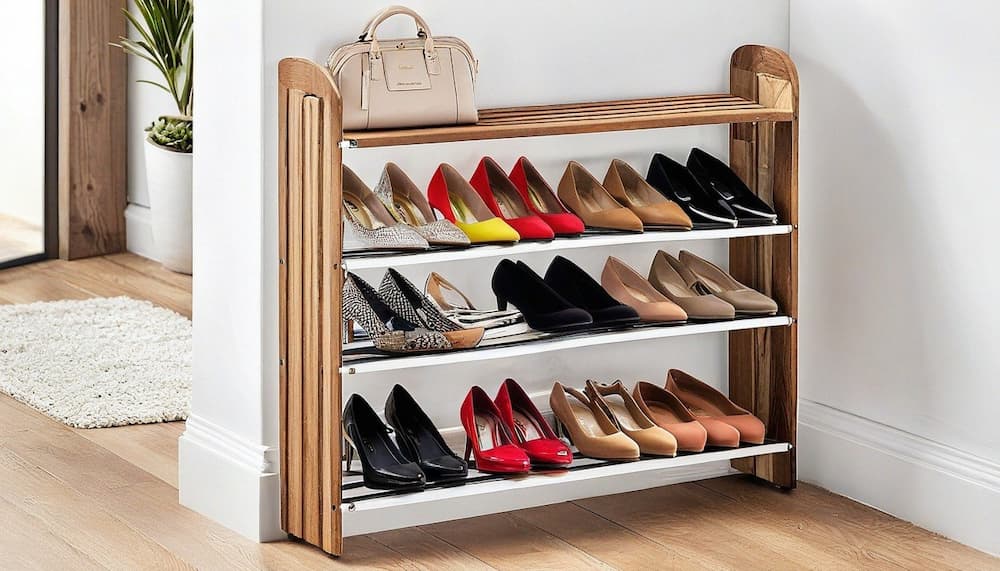
Our footwear collection is often a reflection of our style and a crucial part of our daily lives. However, it can quickly become overwhelming and cluttered if not properly organized. That is why having a DIY shoe rack is a game-changer for any shoe enthusiast. Not only does it provide a practical solution for storing and displaying your shoes, but it also adds a touch of style to your home. In this article, I will guide you through the process of creating a DIY shoe rack that is both simple to build and aesthetically pleasing. So let’s dive in and transform your footwear collection into a beautifully organized display.

The Importance of Organising Your Footwear Collection
Having an organized footwear collection offers numerous benefits. Firstly, it saves you precious time during your morning routine. No more searching for that missing shoe or wasting time matching pairs. With a well-organized shoe rack, you can easily find the perfect pair for any occasion. Secondly, it extends the lifespan of your shoes. When stored properly, shoes are less likely to get scuffed or damaged. Lastly, an organized shoe collection allows you to showcase your style. A shoe rack not only serves as a functional storage solution but also adds a decorative element to your space. With all these advantages, it’s clear that organizing your footwear collection is worth the effort.
Benefits of a DIY Shoe Rack
Creating your shoe rack brings various benefits compared to buying a pre-made one. Firstly, it allows you to customize the design and size to suit your specific needs. Whether you have a large shoe collection or limited space, a DIY shoe rack can be tailored to your requirements. Secondly, a DIY shoe rack is a cost-effective option. By using readily available materials and your labor, you can save money while still achieving a stylish and functional storage solution. Lastly, building your shoe rack can be a fulfilling and enjoyable project. It allows you to unleash your creativity and craftsmanship, resulting in a unique piece that reflects your style.
Different Types of DIY Shoe Racks

There are various types of shoe racks that you can consider for your DIY project. The choice depends on your available space, the number of shoes you have, and your preferred style. Here are a few popular options:
- Wall-Mounted Shoe Rack: Perfect for small spaces, a wall-mounted shoe rack maximizes vertical storage. It can be as simple as a wooden plank with hooks or a more elaborate design with individual shelves for each pair of shoes.
- Crate Shoe Rack: If you prefer a rustic or industrial look, repurposing wooden crates can create a unique shoe rack. Stack the crates vertically and secure them together for stability. You can also paint or stain the crates to match your home decor.
- PVC Pipe Shoe Rack: This type of shoe rack is ideal for those who want a modern and minimalist design. By cutting PVC pipes into appropriate lengths and connecting them, you can create a sleek and stylish shoe rack. You can also paint the pipes in any color you desire.
- Shoe Bench: A shoe bench combines seating and storage, making it a versatile option for entryways. You can build a simple bench with a shoe rack underneath or add compartments and cubbies for additional organization.
Materials Needed for a DIY Shoe Rack
Before starting your DIY shoe rack project, gather the necessary materials to ensure a smooth construction process. The exact materials will depend on the design you choose, but here are some common items you may need:
- Wood: Whether you opt for solid wood or plywood, choose a sturdy and durable type that can withstand the weight of your shoes. Measure the dimensions of your shoe rack and purchase enough wood accordingly.
- Screws and Nails: These are essential for securing the wooden pieces together. Make sure to choose the appropriate size and type for the thickness of the wood you’re using.
- Drill and Screwdriver: These tools will be necessary for drilling pilot holes and driving in screws. Invest in a good-quality drill with various drill bit sizes to accommodate different screw sizes.
- Saw: Depending on your design, you may need a saw to cut the wood to the desired lengths. A circular saw or a miter saw is typically used for this purpose.
- Measuring Tape and Pencil: Accurate measurements are crucial for a well-fitted shoe rack. Use a measuring tape to determine the dimensions and mark the wood pieces with a pencil for precise cuts.
- Sandpaper and Paint/Stain: Smooth out any rough edges using sandpaper and finish your shoe rack with paint or stain for a polished look. Choose a color that complements your home decor.
Make a checklist of these materials and ensure you have everything before you begin building your DIY shoe rack.
Step-by-Step Guide to Building a Simple Shoe Rack
Now that you have all the materials ready, let’s dive into the step-by-step process of building a simple yet functional shoe rack.
Design and Measurements
Decide on the design and size of your shoe rack based on your available space and shoe collection. Consider the number of shoes you have and plan the number of shelves accordingly. Take accurate measurements of the area where you intend to place the shoe rack.
Cutting the Wood
Using a saw, cut the wood pieces according to your measurements. If you don’t have the necessary tools, most hardware stores offer wood-cutting services. Ensure that the edges are smooth and free from splinters by sanding them down.
Assembly
Begin assembling the shoe rack by connecting the wood pieces. Start with the base and work your way up. Pre-drill pilot holes to prevent the wood from splitting, then use screws to secure the pieces together. Ensure that the shoe rack is level and stable.
Finishing Touches
Sand the entire shoe rack to remove any rough spots or imperfections. Apply paint or stain to enhance the appearance and protect the wood. Allow sufficient drying time before placing your shoes on the rack.
Placement
Finally, find the perfect spot for your newly built shoe rack. Consider placing it in an area that is easily accessible and complements your home decor. Arrange your shoes neatly on the shelves, and enjoy the satisfaction of a well-organized footwear collection.
By following these steps, you can create a simple shoe rack that suits your needs and elevates the style of your space.
Creative and Stylish Shoe Rack Ideas

Are you looking to add a touch of creativity and style to your shoe rack? Here are some inventive ideas to consider:
- Repurposed Ladder: Transform an old wooden ladder into a unique shoe rack. Lean it against the wall or secure it for stability. Hang shoes from the rungs or place them on the steps for an eye-catching display.
- Floating Shelves: Install floating shelves on your wall to create a minimalist shoe rack. This design not only saves floor space but also adds a modern and sleek element to your room.
- Hanging Shoe Organizer: Utilise the back of your closet door by hanging a shoe organizer. These fabric or plastic organizers typically have multiple pockets, providing ample storage for your shoes.
- Bookcase Shoe Rack: If you have an unused bookcase lying around, repurpose it into a shoe rack. Adjust the shelves to accommodate different shoe heights and arrange your shoes alongside your favorite reads.
Tips for Maintaining an Organised Shoe Rack
Once you have invested time and effort into creating your DIY shoe rack, it’s essential to maintain its organization. Here are some helpful tips:
- Regular Cleaning: Keep your shoe rack clean by dusting it regularly. Remove any dirt or debris that may accumulate on the shelves. This prevents your shoes from getting dirty and maintains a neat appearance.
- Rotating Shoes: To avoid excessive wear on certain pairs, rotate your shoes regularly. This ensures that all your shoes get equal usage and extends their lifespan.
- Shoe Care: Take care of your shoes by cleaning and polishing them regularly. This not only keeps them looking their best but also prevents dirt and dust from transferring onto the shoe rack.
- Seasonal Storage: Consider storing seasonal shoes that are not currently in use. Utilise under-bed storage boxes or clear plastic bins to keep them organized and free up space on your shoe rack.
By following these maintenance tips, you can enjoy a well-organized shoe rack that stands the test of time.
Styling Your Shoe Rack to Match Your Home Decor

A DIY shoe rack not only serves as a functional storage solution but also adds a decorative element to your home. Here are some ways to style your shoe rack to match your home decor:
- Color Coordination: Arrange your shoes by color to create a visually appealing display. This not only makes it easier to find the right pair but also adds a pop of color to your shoe rack.
- Decorative Accents: Add decorative accents to your shoe rack to enhance its visual appeal. Consider placing small potted plants or decorative baskets on the shelves for an added touch of style.
- Lighting: Install subtle LED strip lights under the shelves to create an ambient glow. This not only highlights your shoes but also adds a warm and inviting atmosphere to the space.
- Artwork: Hang artwork or framed prints above your shoe rack to create a cohesive and stylish look. Choose pieces that complement the overall aesthetic of your space.
By incorporating these styling tips, you can transform your shoe rack into a visually pleasing focal point in your home.
DIY Shoe Rack Alternatives for Small Spaces
If you have limited space but still want to organize your footwear collection, there are alternative options to consider. Here are a few ideas specifically designed for small spaces:
- Over-the-Door Shoe Organizer: Utilise the back of your door by hanging an over-the-door shoe organizer. These compact organizers have individual pockets to store your shoes neatly.
- Under-Bed Shoe Storage: Invest in under-bed shoe storage containers that can slide easily under your bed. These containers keep your shoes out of sight while maximizing the use of available space.
- Shoe Cabinet: A shoe cabinet is a space-saving option that provides both storage and functionality. These cabinets typically have multiple shelves or compartments to accommodate various shoe sizes.
- Wall-Mounted Shoe Rack: Install a wall-mounted shoe rack in narrow spaces such as hallways or entryways. This vertical storage solution keeps your shoes organized without occupying valuable floor space.
Even with limited space, you can still enjoy the benefits of an organized shoe collection by choosing one of these space-saving alternatives.
Conclusion: Enjoy Your Neatly Organised Footwear Collection with a DIY Shoe Rack
Organizing your footwear collection is a worthwhile endeavor that brings numerous benefits. By creating your DIY shoe rack, you not only save money but also have the freedom to customize the design to suit your needs and style. From wall-mounted racks to repurposed furniture, there are endless possibilities for creating a shoe rack that matches your home decor. Remember to maintain your shoe rack through regular cleaning and shoe care, and enjoy the satisfaction of a neatly organized footwear collection. So roll up your sleeves, gather your materials, and embark on the journey of building a DIY shoe rack that will elevate both your storage and style game.
