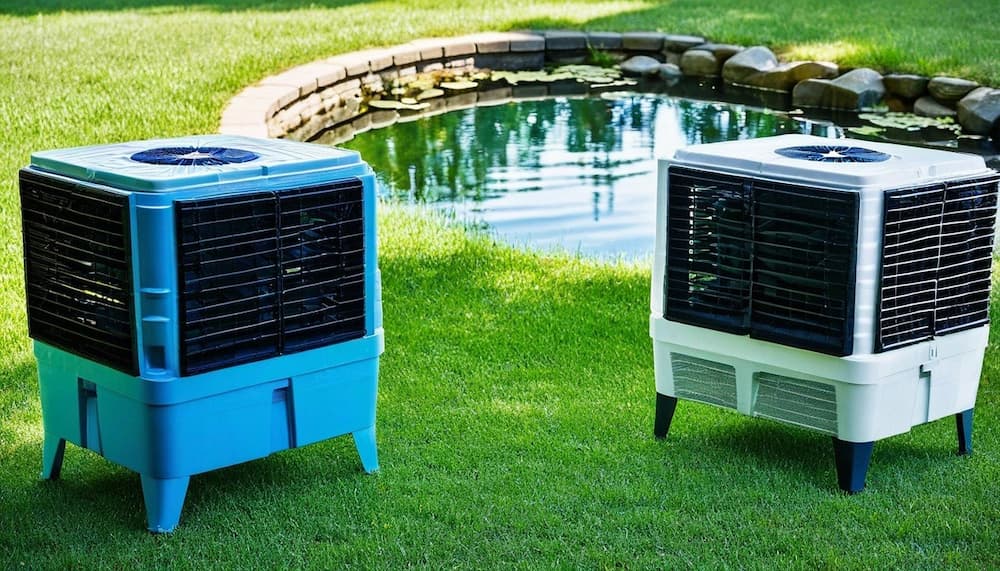
When summer arrives, the scorching heat can make it unbearable to stay indoors. While traditional air conditioning systems are effective in keeping the temperature down, they can be expensive to install and operate. Fortunately, there is a cost-effective alternative that you can make yourself: a DIY swamp cooler. In this article, I will guide you through the process of building your swamp cooler, explain how it works, and highlight the benefits of using one.

How does a swamp cooler work?
Before we dive into building your DIY swamp cooler, it’s important to understand how this ingenious cooling system works. Unlike traditional air conditioners that rely on refrigerants and compressors, swamp coolers use the natural process of evaporation to cool the air. The basic principle is simple: hot air is drawn into the swamp cooler, passed through a moistened pad, and then expelled as cool air. The moisture in the pad evaporates, absorbing heat from the air and reducing its temperature. This cooled air is then circulated into the room, providing relief from the summer heat.
Benefits of making your DIY swamp cooler
Building your DIY swamp cooler offers several benefits. Firstly, it is a cost-effective alternative to traditional air conditioning systems. The materials and tools required for the project are relatively inexpensive and can be easily sourced from your local hardware store. Additionally, operating a swamp cooler consumes significantly less energy compared to air conditioning units, resulting in lower utility bills. Moreover, a swamp cooler adds moisture to the air, which can be beneficial in dry climates and help alleviate symptoms of dry skin and respiratory issues.
Another advantage of a DIY swamp cooler is its portability. Unlike fixed air conditioning systems, swamp coolers can be easily moved from room to room, providing cooling wherever you need it most. This flexibility is especially useful if you live in a rental property or if you only require temporary cooling solutions. Additionally, the maintenance and troubleshooting of a swamp cooler are relatively simple, making it an accessible option for DIY enthusiasts.
Tools and materials needed for a DIY swamp cooler

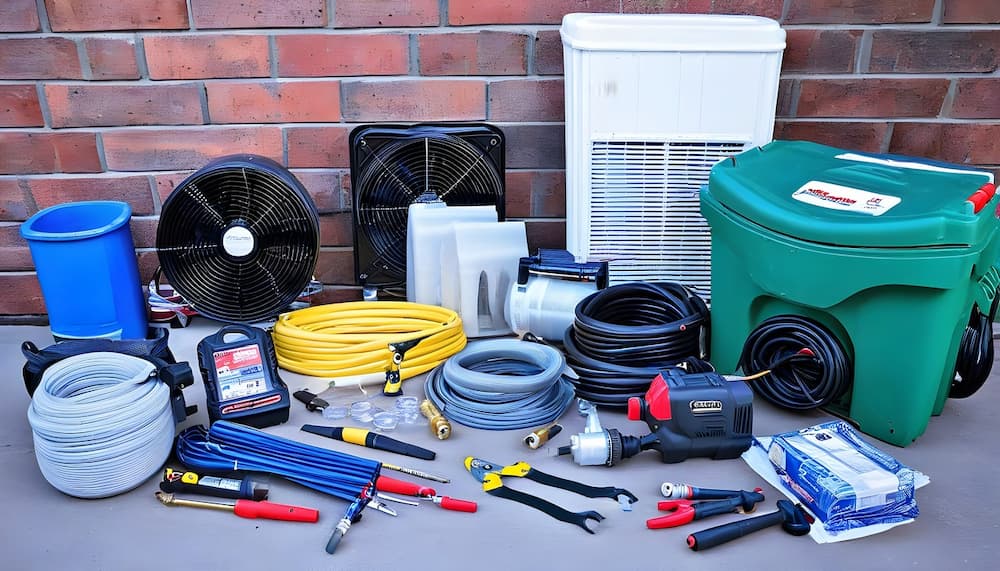
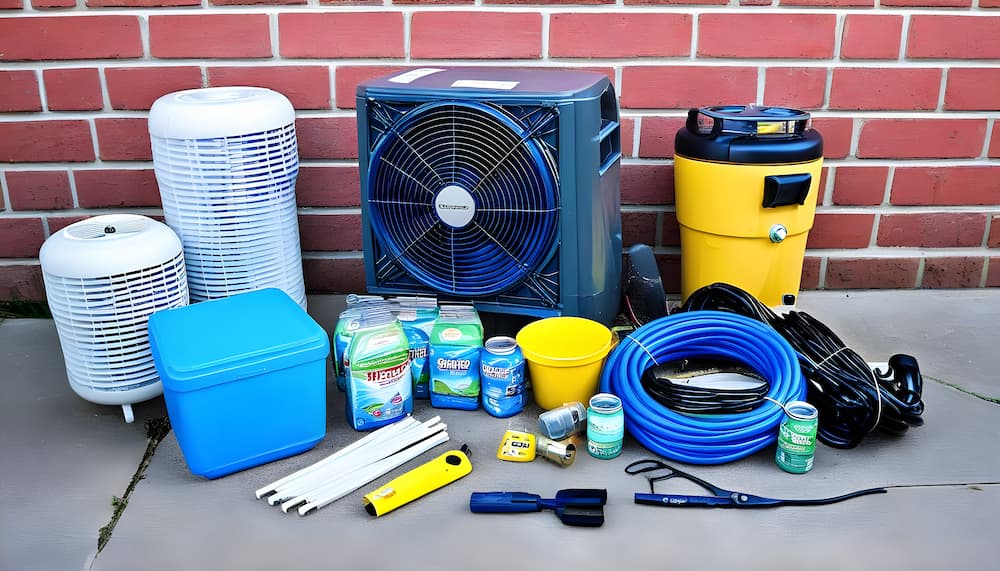
Before you embark on building your DIY swamp cooler, it’s important to gather all the necessary tools and materials. Here’s a comprehensive list of what you’ll need:
- Cooler: Start with a large plastic cooler with a lid. Make sure it is clean and in good condition.
- Fan: Choose a powerful fan that can fit on top of the cooler and blow air through it. Look for a fan with adjustable speed settings.
- Water pump: You’ll need a water pump to circulate water through the cooler. Opt for a submersible pump that is suitable for your cooler’s size.
- Water distribution system: This includes PVC pipes, connectors, and spray nozzles to evenly distribute water across the cooling pads.
- Cooling pads: These pads are essential for the evaporation process. Purchase high-quality pads that fit the dimensions of your cooler.
- Water reservoir: A separate container to hold the water for the pump. This can be a bucket or a dedicated reservoir connected to the cooler.
- Water level controller: To maintain the optimal water level in the cooler, use a float valve or an automatic water level controller.
- Power source: Ensure you have access to a power outlet or an appropriate power supply for the fan and water pump.
- Miscellaneous tools: You’ll also need tools like a drill, screws, hose clamps, and a knife for assembly.
Once you have gathered all the necessary tools and materials, you are ready to begin building your DIY swamp cooler.
Step-by-step guide to building your DIY swamp cooler
Prepare the cooler
Start by thoroughly cleaning the cooler and removing any debris or dirt. This will ensure optimal performance and longevity of your swamp cooler. Once cleaned, make sure the lid fits securely and can be tightly sealed to prevent air leakage.
Install the fan
Position the fan on top of the cooler and mark the areas where you’ll need to cut holes for the fan to fit through. Use a drill to carefully cut the holes, ensuring they are slightly smaller than the fan’s diameter. Attach the fan securely to the cooler using screws or brackets.
Set up the water distribution system
Attach the PVC pipes to the water pump and connect them to the spray nozzles. The spray nozzles should be evenly distributed across the cooling pads. Ensure all connections are tightly secured to prevent leaks.
Install the cooling pads
Place the cooling pads inside the cooler, making sure they cover the entire internal surface. Trim the pads if necessary to ensure a snug fit. The pads should be in contact with the water distribution system to absorb moisture and facilitate the evaporation process.
Connect the water pump and reservoir
Submerge the water pump in the water reservoir and connect it to the water distribution system. Adjust the water flow rate to ensure the pads are adequately moistened without excessive water wastage. Use the water level controller to maintain the optimal water level in the cooler.
Power up your DIY swamp cooler
Connect the fan and water pump to a power source, ensuring they are compatible with the voltage requirements. Turn on the fan and adjust the speed settings according to your preference. You should feel a stream of cool air being expelled by the swamp cooler.
Tips for maximizing the cooling effectiveness of your DIY swamp cooler
To enhance the cooling effectiveness of your DIY swamp cooler, consider the following tips:
- Position the swamp cooler near an open window or door to facilitate the circulation of cool air into the room.
- Place a tray of ice or frozen water bottles in front of the fan to further cool the air that is being expelled.
- Use the swamp cooler in a well-ventilated area to prevent humidity buildup. Open doors or windows on the opposite side of the room to allow for proper air exchange.
- Clean and maintain the cooling pads regularly to avoid clogging and ensure optimal evaporation.
- Experiment with different fan speeds and water flow rates to find the most efficient cooling settings for your specific conditions.
Maintenance and troubleshooting tips for your DIY swamp cooler

Proper maintenance and troubleshooting are crucial to ensure the longevity and optimal performance of your DIY swamp cooler. Here are some essential tips:
- Regularly clean and replace the cooling pads to prevent mold or bacterial growth.
- Clean the water pump and check for any blockages or malfunctions.
- Inspect the water distribution system for leaks or clogs and fix them promptly.
- Check and clean the fan blades to ensure smooth operation and prevent dust buildup.
- Monitor the water level in the reservoir and adjust it as needed to maintain optimal cooling.
If you encounter any issues with your DIY swamp cooler, refer to the manufacturer’s instructions for troubleshooting guidance or seek assistance from a professional.
Alternative options for cooling your home in the summer
While a DIY swamp cooler can be an effective cooling solution, there are alternative options worth considering:
- Window fans: These fans are designed to fit in open windows and exhaust hot air while drawing in cooler air from outside. They are relatively inexpensive and easy to install.
- Ceiling fans: Installing ceiling fans in your home can help circulate air and create a cooling breeze. They are energy-efficient and can supplement the cooling effect of a swamp cooler.
- Portable air conditioners: If you prefer a more traditional cooling method, portable air conditioners are a viable option. They require venting through a window but offer powerful cooling performance.
Cost Comparison: DIY swamp cooler vs. traditional air conditioning
When it comes to cost, DIY swamp coolers have a significant advantage over traditional air conditioning systems. The materials and tools needed to build a swamp cooler are relatively inexpensive, making it an affordable option for those on a budget. Additionally, operating a swamp cooler consumes less energy, resulting in lower utility bills compared to air conditioners. However, it’s important to note that swamp coolers are most effective in dry climates and may not provide the same level of cooling in humid environments.
Conclusion
As summer heats up, staying cool becomes a top priority. Building your DIY swamp cooler can provide a cost-effective and efficient solution to beat the heat. By following the step-by-step guide and implementing the tips and maintenance practices outlined in this article, you can create a portable and effective cooling system for your home. Enjoy the summer while staying cool and comfortable with your DIY swamp cooler.
CTA: Ready to beat the summer heat? Start building your DIY swamp cooler today and stay cool all summer long! Remember to share your experience and any additional tips in the comments below.
